Part One: Security in React and WebApi in ASP.NET Core C# with authentification and authorization by KeyCloak
Part One: Intalling Keycloak with Docker and Administration Version 1.0 Date 2022/05/23 By Nicolas Barlatier


Table of contents
Introduction
Too often we don't think about security in our front-end, back-end or api apps; that's a big mistake! And very often, it is harder to add it later on.
So we need to think upfront about security.
But the question: what kind of security do we need here??
As a matter of fact, security is a big, even massive topic.
We will focus here on two aspects:
- Authentication: Check we are who/what we are.
- Authorization: Check if we are allowed to do an action.
But first thing first, we need a server to handle the Authentication and Authorization. Because trust me, we won't implement on our own, it is madness.
For this, we will use the Keycloak, which is an open-source tool to authenticate and authorize accounts.
IMPORTANT: this blog is for developers, so we will not show how to install Keycloak with production configuration. It is the job of the infrastructure team.
Here we will show you how to get a development environment and install Keycloak so we can develop and test our Authentication and Authorization on our application.
We will use the following protocol in Keycloak by selecting OpenID Connect which is based on OAuth 2.0. OpenID Connect extends it.
Moreover this blog won't focus on what are these protocols used to secure our application.
If you need to know what are these protocols please go to :
We just want to be practical here and show you how to use Keycloak.
1. KeyCloak Docker Installation and Administration
What Is Keycloak? It is a tool for “Identity and Access Management”. Additionally, Keycloak is an open-source tool currently licensed with the Apache License 2.0.
The full list of supported platforms depends on which protocol you decide to use, currently Keycloak supports three different protocols, and can be viewed in the documentation.
Keycloak Features
Multiple Protocols Support
As for now Keycloak supports three different protocols, namely
- OpenID Connect
- OAuth 2.0
- SAML 2.0.
We will focus on the OpenID Connect protocol here.
SSO
Keycloak has full support for Single Sign-On and Single Sign-Out.
Admin Console
Keycloak offers web-based GUI where you can “click out” all configurations required by your instance to work as you desire.
User Identity and Accesses
Keycloak can be used as a standalone user identity and access manager by allowing us to create users database with custom roles and groups. This information can be further used to authenticate users within our application and secure parts of it based on pre-defined roles.
External Identity Source Sync
In case when your client currently has some type of user database, Keycloak allows us to synchronize with such database. By default, it supports LDAP and Active Directory but you can create custom extensions for any user database using Keycloak User storage API. Keep in mind that such a solution may not have all data necessary for Keycloak to be fully functional, so remember to check if your desired functionality works.
Identity Brokering
Keycloak can also work as a proxy between your users and some external identity provider or providers. Their list can be edited from Keycloak Admin Panel. Social Identity Providers Additionally, Keycloak allows us to use Social Identity Providers. It has built-in support Google, Twitter, Facebook, Stack Overflow but, in the end, you have to configure all of them manually from admin panel. The full list of supported social identity providers and their configuration manual can be found in Keycloak documentation. Pages Customization Keycloak lets you customize all pages displayed by it to your users. Those pages are in .ftl format so you can use classic HTML markups and CSS styles to make the page fit your application style and your company brand. You can even put custom JS scripts as part of pages customization so possibilities are limitless. These are all of Keycloak features which I wanted to describe today. Of course, this tool offers even more possibilities, which are described in a much more detailed way in the documentation.
Distributions of Keycloak
Currently, Keycloak has three major distributions.
Server
Standalone application is downloadable from Keycloak page in form of a tar or zip archive with all scripts, docs, and assets needed to work normally. As for now, there are two main versions of this distribution: one is powered by WildFly server while the other is powered by Quarkus. It is now in preview stage so some unexpected error may occur.
Docker Image
Distribution appropriate for Docker, Podman, Kubernetes, and OpenShift. There are two official docker images for Keycloak: one is held in Quay Container Registry - quay.io/keycloak/keycloak, the second one is held in Docker Hub - jboss/keycloak. You can download both of them with a simple docker pull command.
Operator
Distribution for Kubernetes and OpenShift based on Operator SDK. As you can see, everybody can find an appropriate distribution. If you use Docker or Kubernetes you have Keycloak image and operator. On the other hand, if you prefer a more conventional deployment type you will also find a distribution for you. Even then Keycloak Docker image can be extremely useful for development and testing.
You can set up your test Keycloak server then do changes and test them. After tests you can restart your Docker image and all changes made to your Keycloak will be reverted and you will get a clear environment for further tests. All three distributions can be downloaded from here.
We will use the Docker image as it is the fastest and easiest way to set it up.
We will set up Keycloak with Docker Desktop for Windows. We will create a realm and a client for our application.
Don't worry we will explain what these terms mean.
Realm
A realm is a space where you manage objects like:
- users
- applications
- roles
- groups
By default there is a single realm in Keycloak called master. We will create a realm called "MyRealm".
Client
To secure our application we need to register it as a client within our "MyRealm" realm.
So let's start.
First we need to have Docker Desktop installed
Install Docker Desktop for Windows
Install Docker Desktop for Mac
Install Docker Desktop for Linux
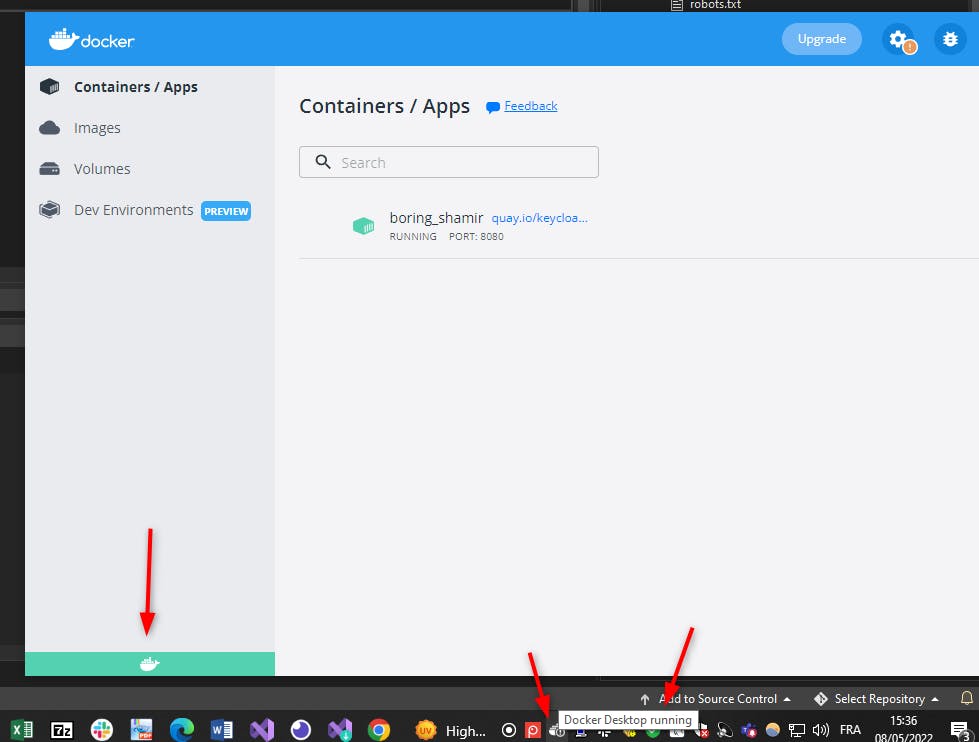
Once it is installed and started we should see this on windows:
Now let's run keycloak with the latest version at the time of this blog from the docker repository quay.io/keycloak/keycloak :
You can follow the full tutorial about how to get started Keycloak with Docker in the following link:
We will show you more details than the tutorial.
Let's run the following command in your WSL or your shell or your powershell if you are on windows.
docker run -d -p 8080:8080 -e KEYCLOAK_ADMIN=admin -e KEYCLOAK_ADMIN_PASSWORD=admin quay.io/keycloak/keycloak:18.0.0 start-dev
Here's the link to use WSL2
In the command we map the port 8080 of our host to the port 8080 of the container. You must make sure that the port is free on your host.
We use the admin account : admin with the password admin, but we can change that to any login/password you want!
Once you run the command you should see the id of the running container:

λ docker run -d -p 8080:8080 -e KEYCLOAK_ADMIN=admin -e KEYCLOAK_ADMIN_PASSWORD=admin quay.io/keycloak/keycloak:18.0.0 start-dev
6425fce35b6b58af202fd0ff90dd206683d4fc3c21212ba804402c2d72c749a8
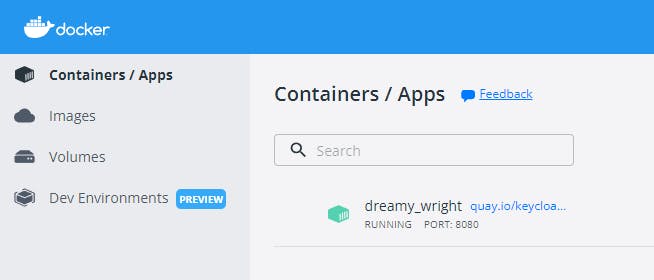
You can also check the running Keycloak container with Docker Desktop
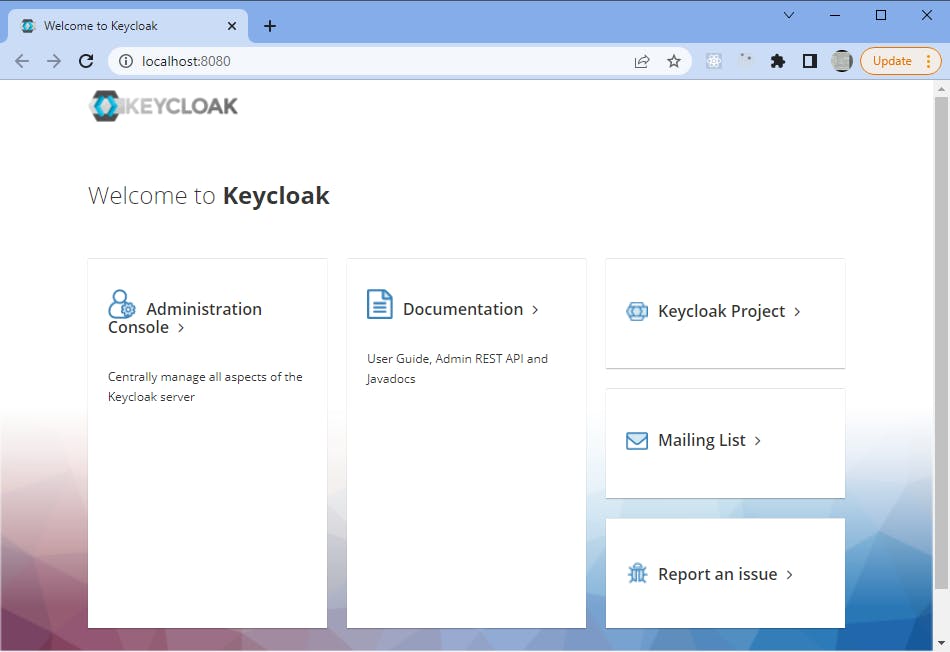
You can reach for the Keycloak with your brower.

It will open your default brower
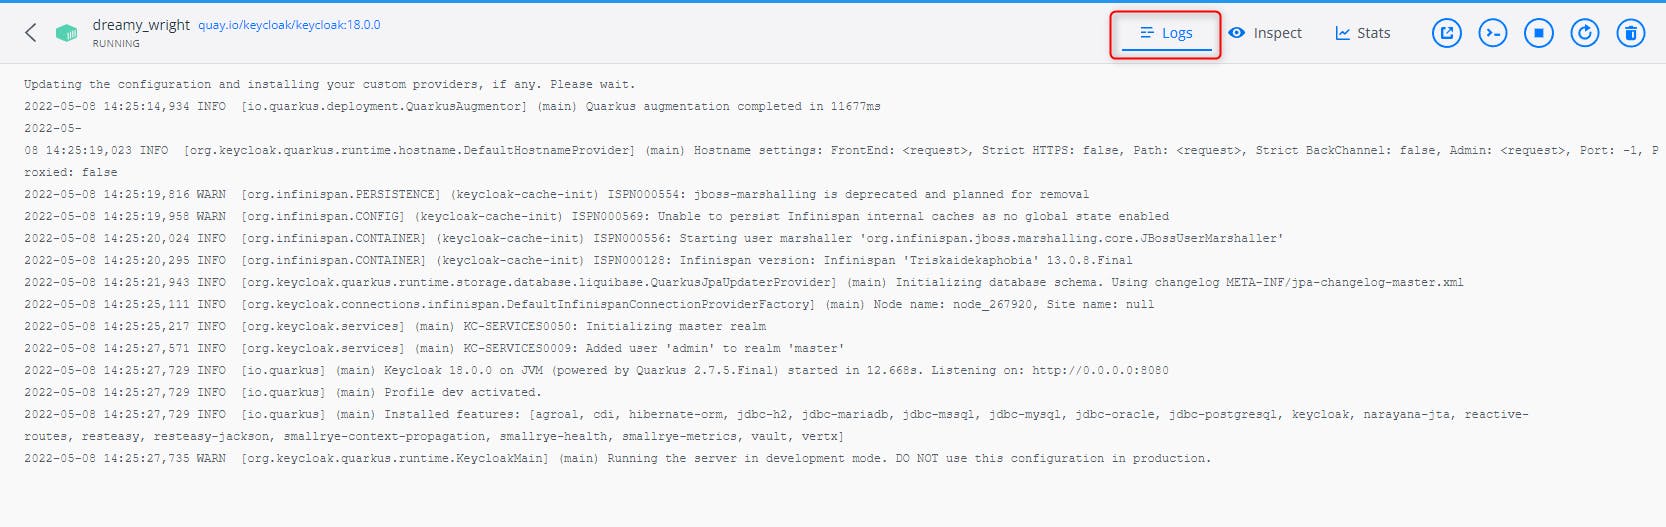
You can also check for the logs
First by clicking there:
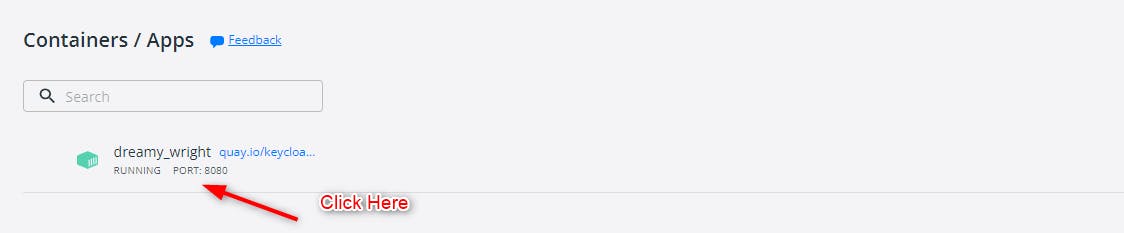
Then by clicking on Logs
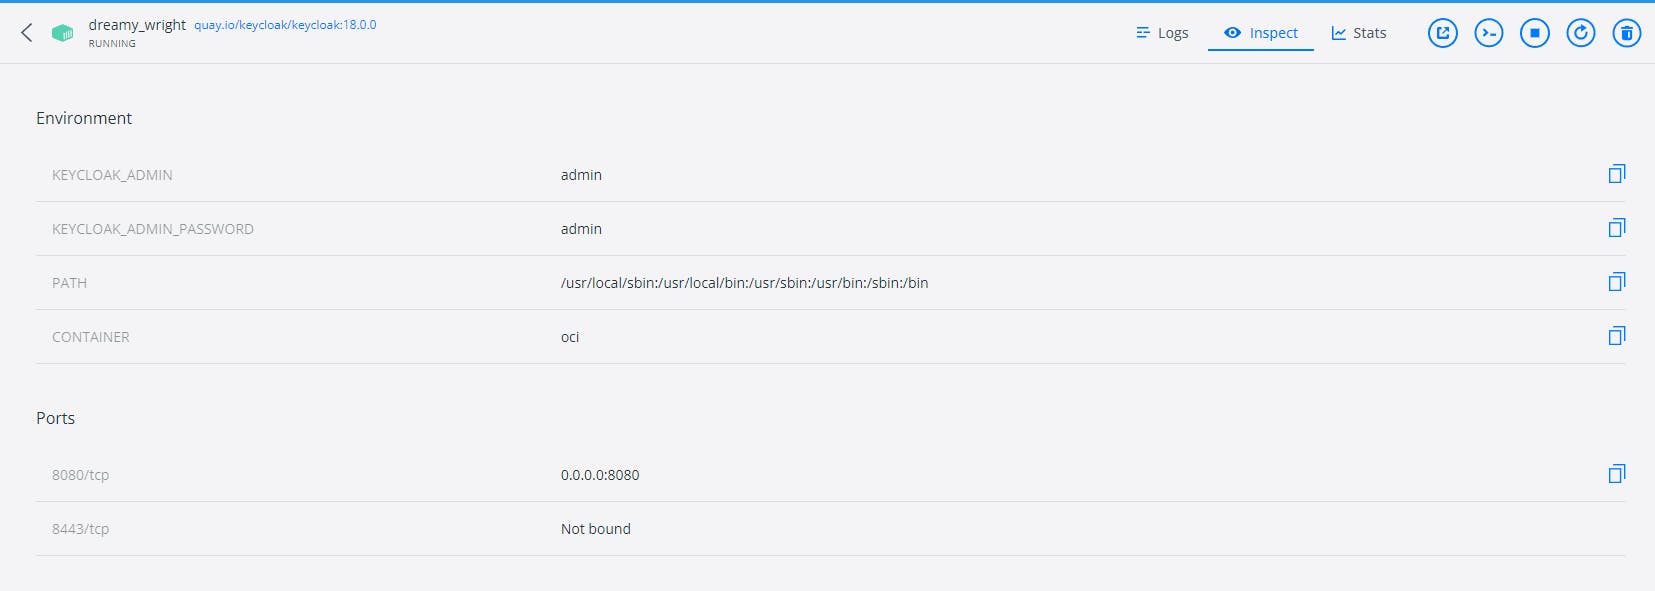
You can also inspect your running application like the environment variables, the bound port(s)
Now we will admin Keycloak.
Click on the Administration Console link
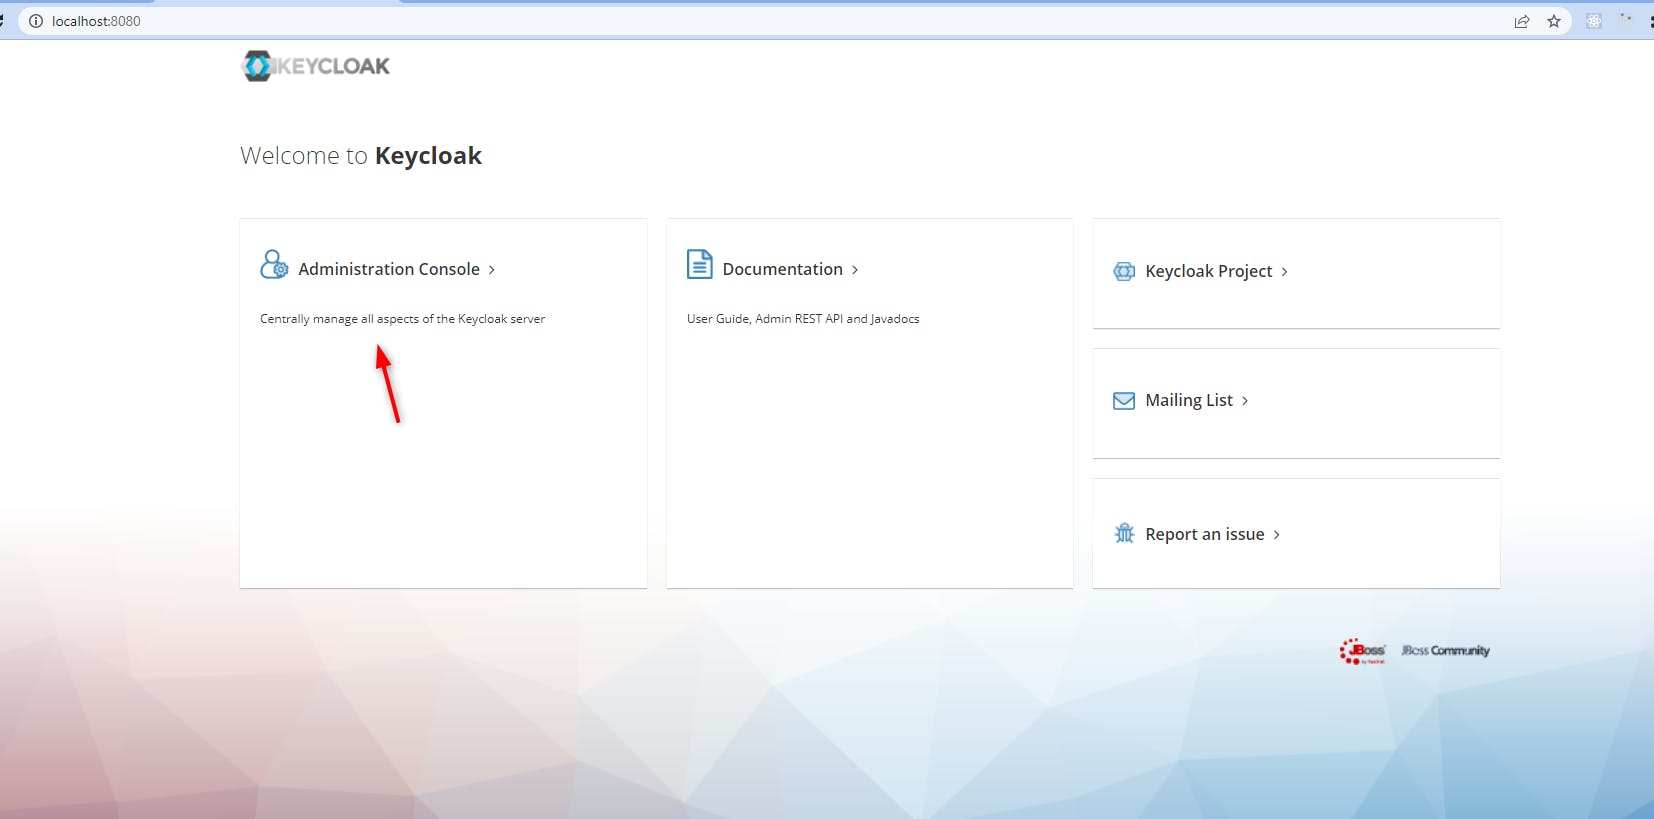
You will need to use the admin login and password.
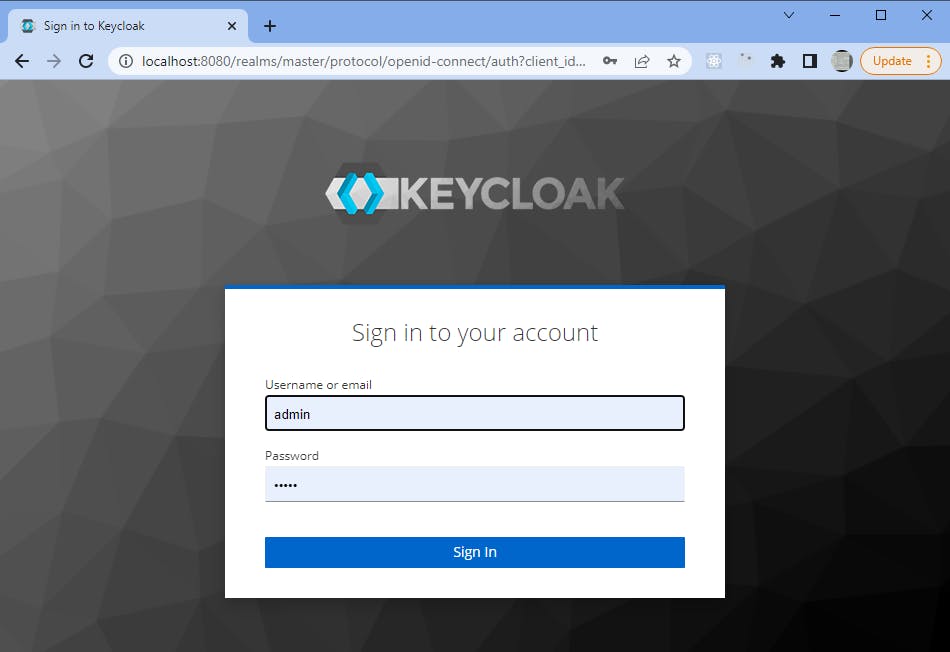
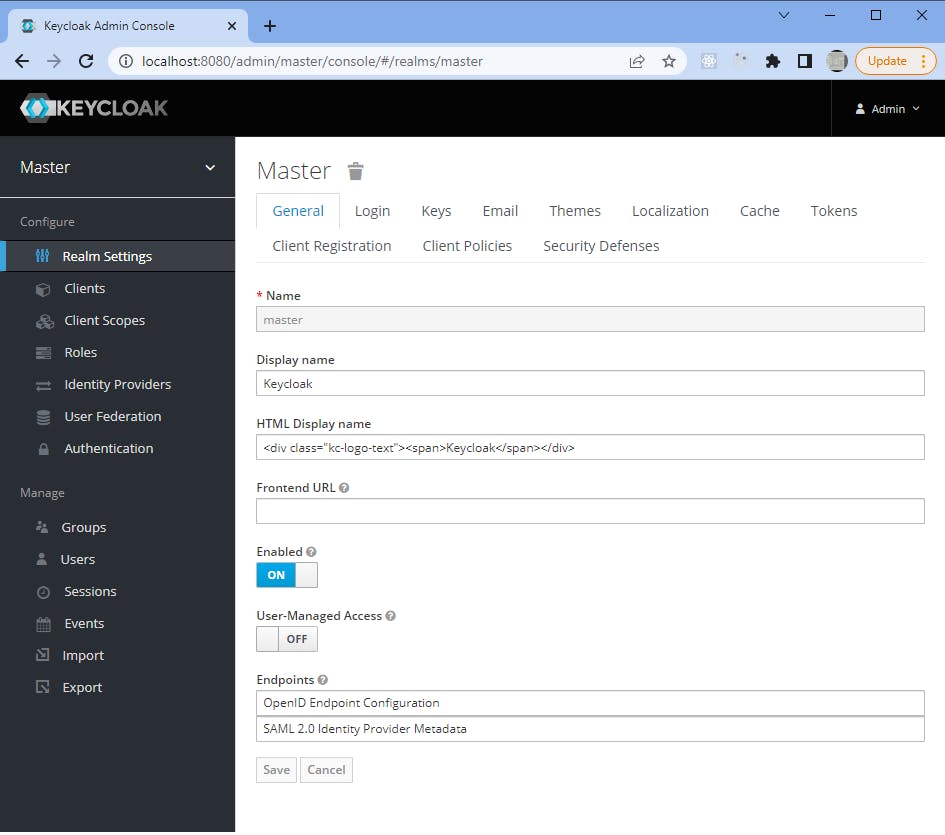
Once logged in, we get the following page
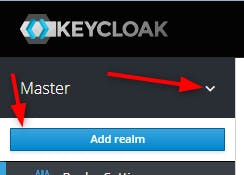
The first thing to do is to create our Realm: MyRealm. Go to the upper left menu "Master" => then click on the button "Add realm"
We will get the following page:
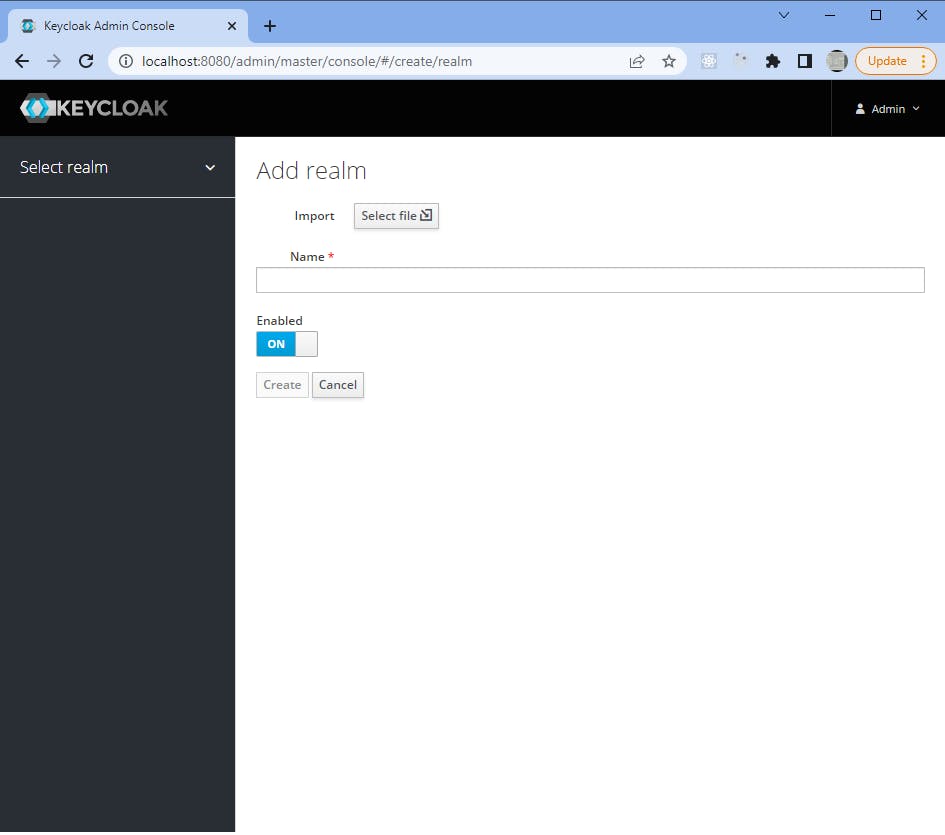
We provide the information
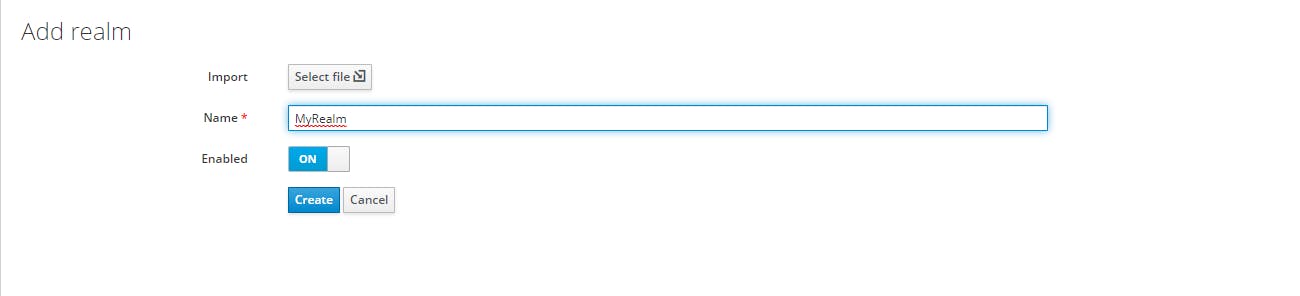
Then we click on the "create" button.
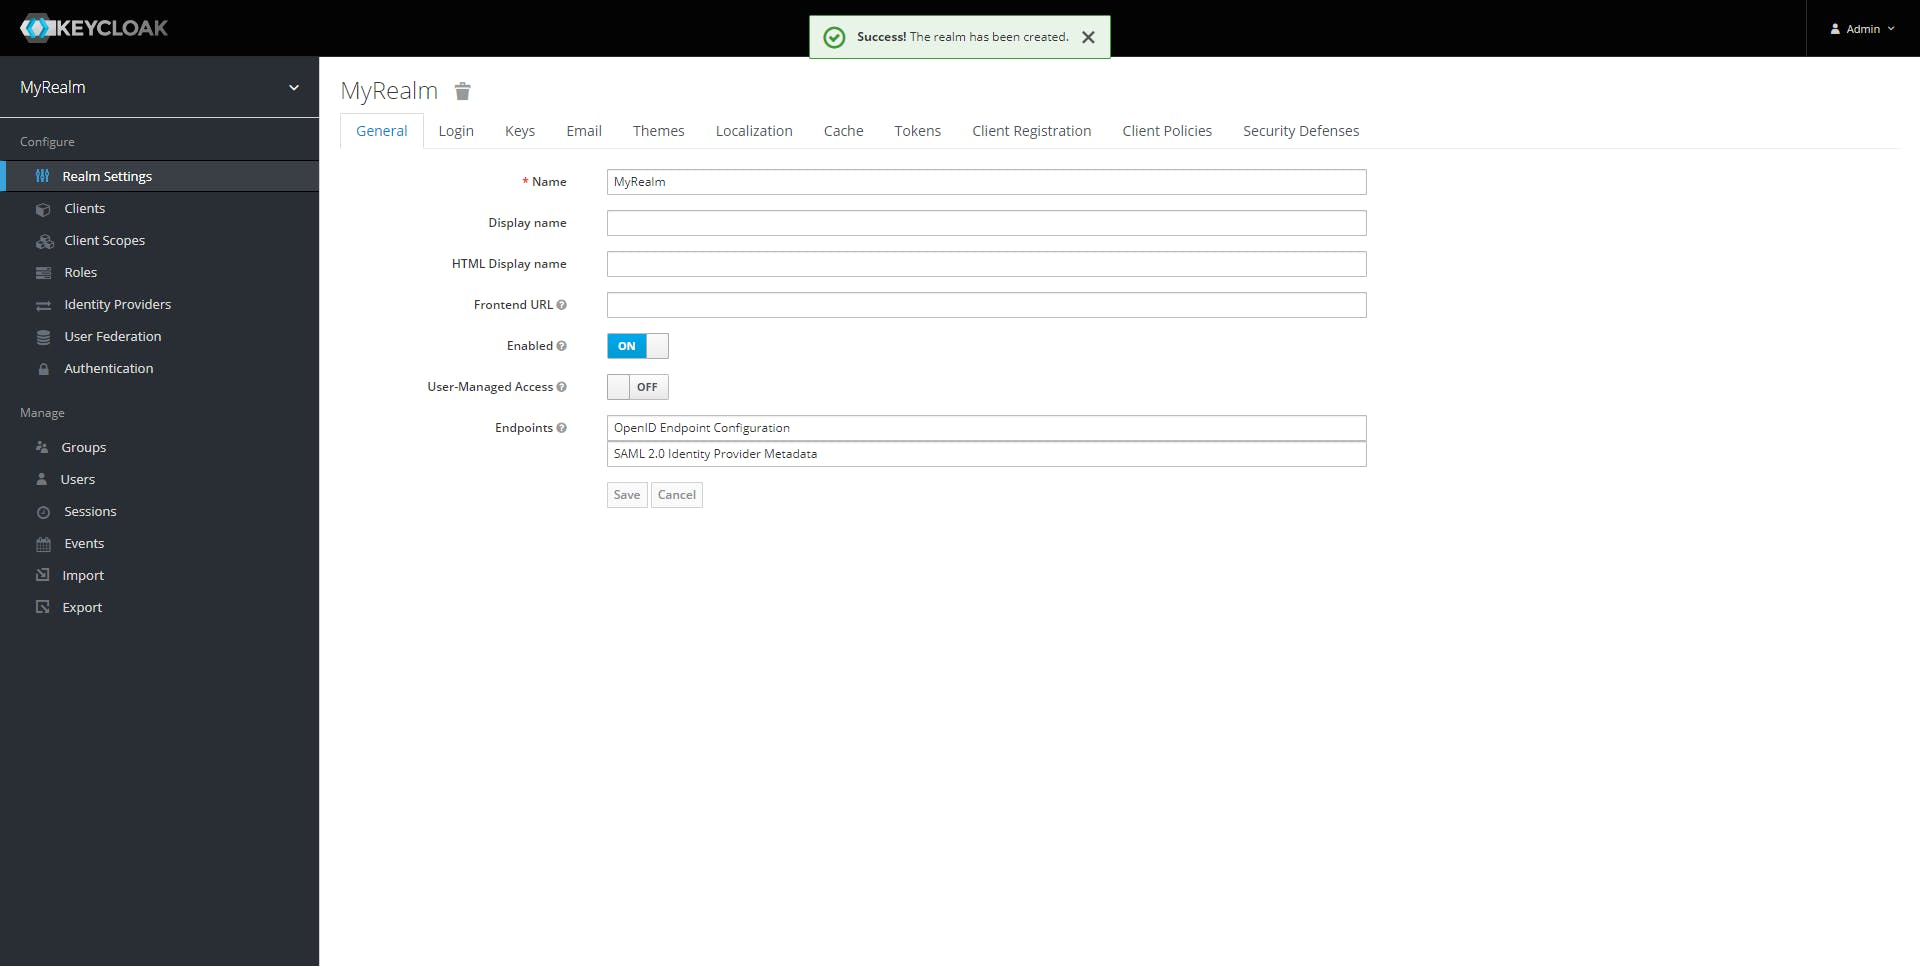
We get the following message "Success! The realm has been created" and the following realm setting page displayed:
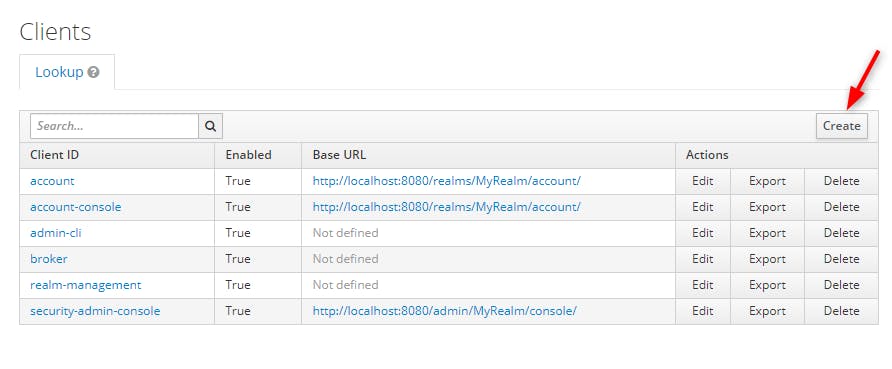
Now we can add our application as a client, click on the "Clients" menu

Then we create our client on clicking on the "Create" button
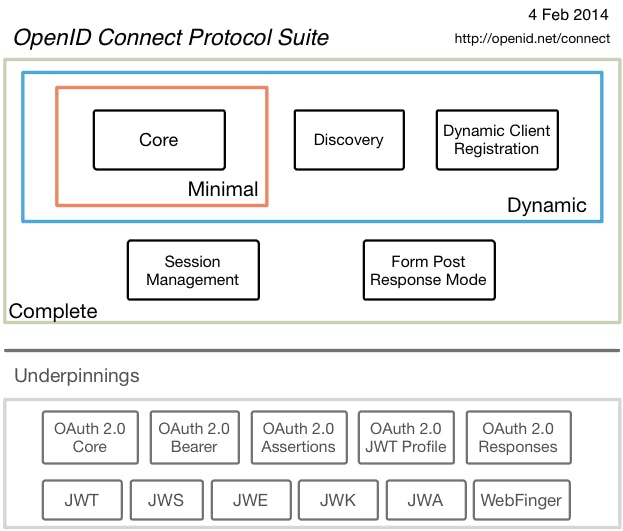
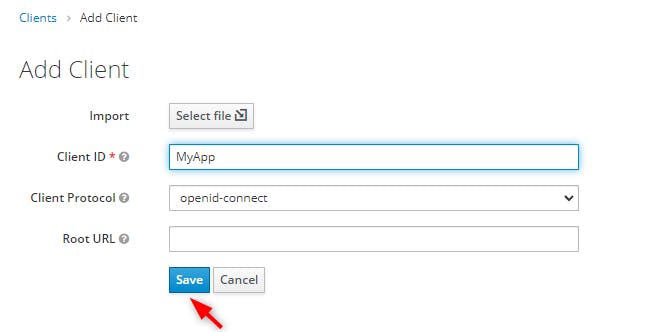
We will give the name "MyApp" and let the client protocol set to "openid-connect" by default.
You can know more about the protocol
You can see OpenId derives from the other protocol 0Auth
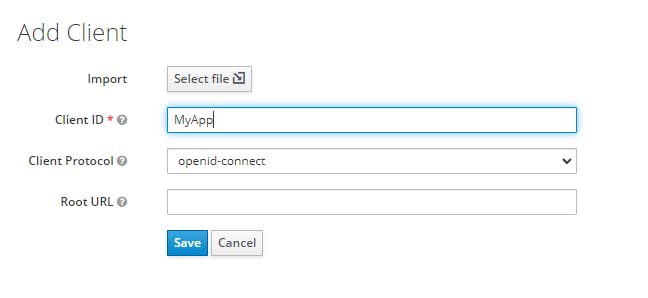
Click on the "Save" button
We get the following page
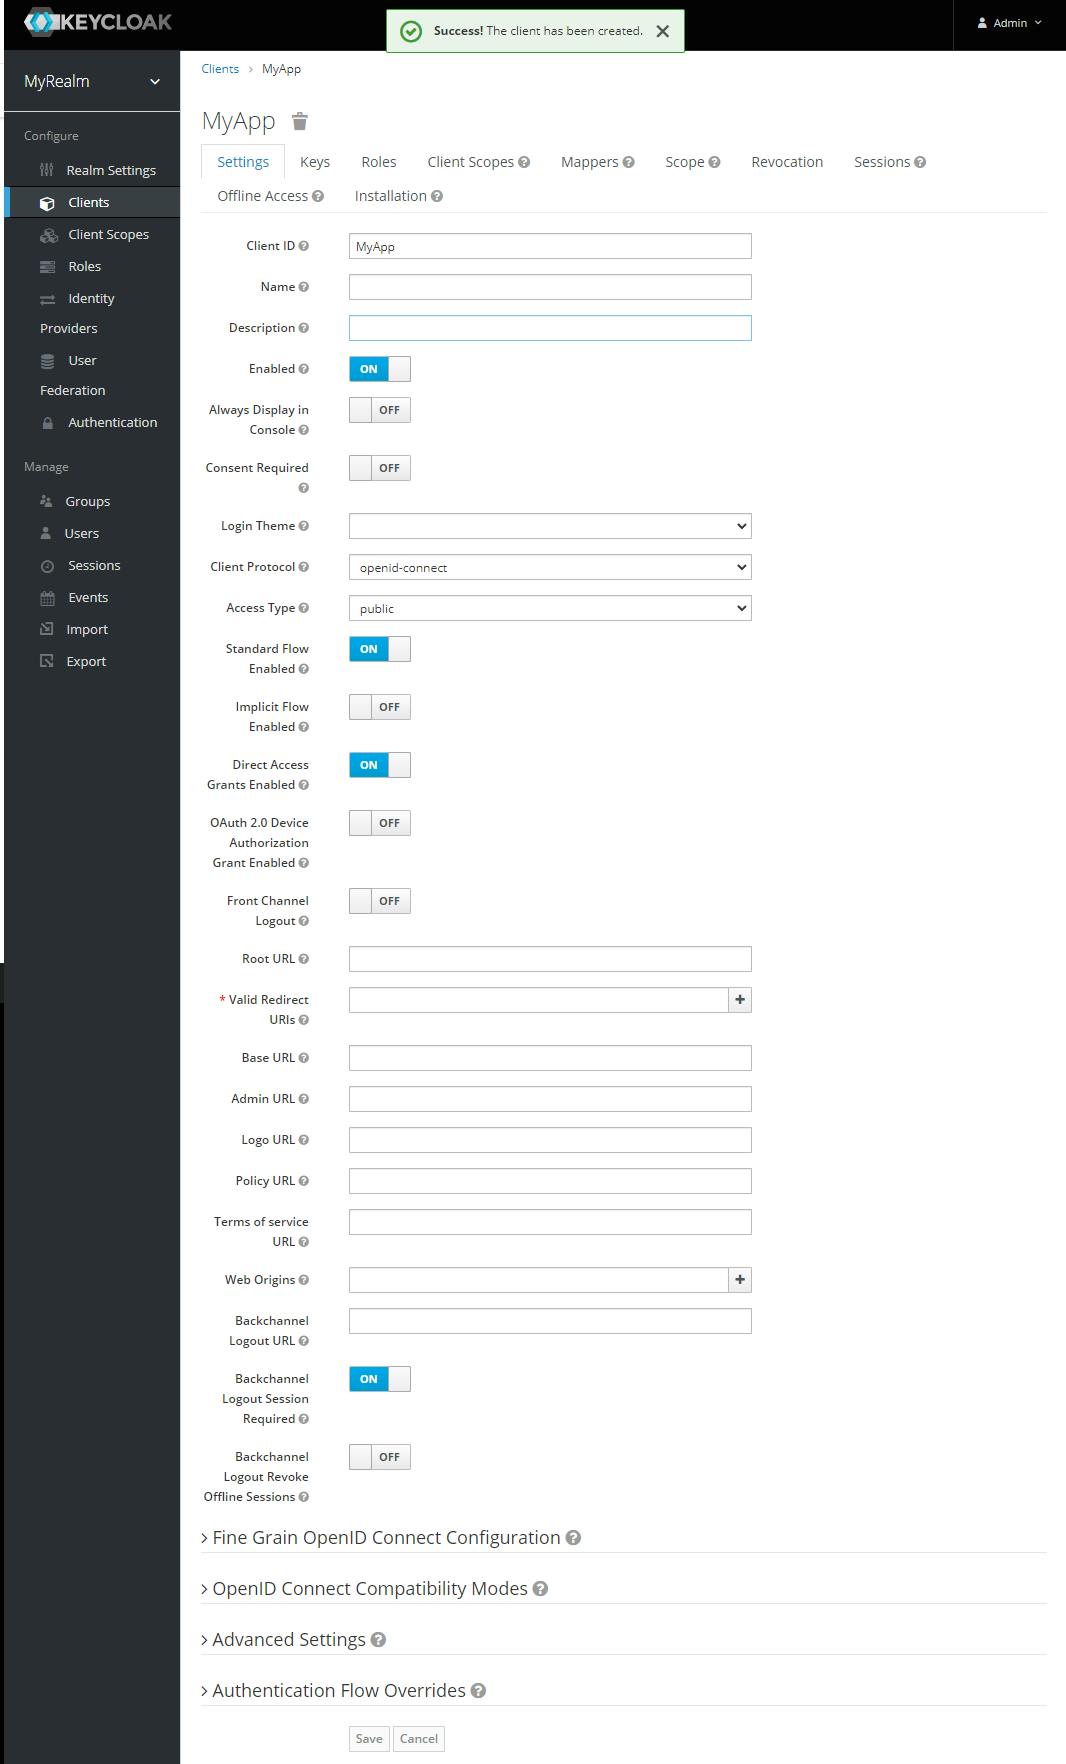
We get the following properties:
- Client ID: Specifies ID referenced in URI and tokens. For example 'my-client'. For SAML this is also the expected issuer value from authn requests. In our case it will be 'MyApp'
- Name: Specifies display name of the client. For example 'My Client'. Supports keys for localized values as well. For example: ${my_client}, we don't need it.
- Description: Specifies description of the client. For example 'My Client for TimeSheets'. Supports keys for localized values as well. For example: ${my_client_description}
- Disabled: Disabled clients cannot initiate a login or have obtain access tokens.
We will leave the following options :
- Client Protocol : openid-connect
- Acces Type: public
- Standard Flow Enabled = "ON"
- Direct Access Grand Enabled = "ON"
We need to add
Valid Redirect URI : Valid URI pattern a browser can redirect to after a successful login or logout. Simple wildcards are allowed such as 'example.com'. Relative path can be specified too such as /my/relative/path/. Relative paths are relative to the client root URL, or if none is specified the auth server root URL is used. For SAML, you must set valid URI patterns if you are relying on the consumer service URL embedded with the login request.
Web Origins : Allowed CORS origins. To permit all origins of Valid Redirect URIs, add '+'. This does not include the '' wildcard though. To permit all origins, explicitly add ''.
But first let's create our React Application.
2. React Application with Typescript
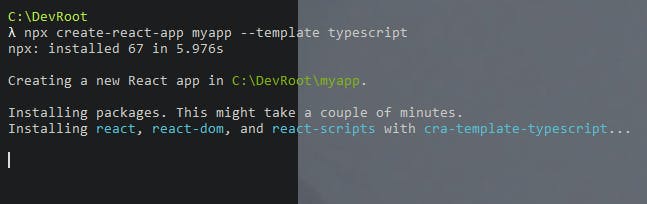
Let's use create-react-app with the template typescript with the following command
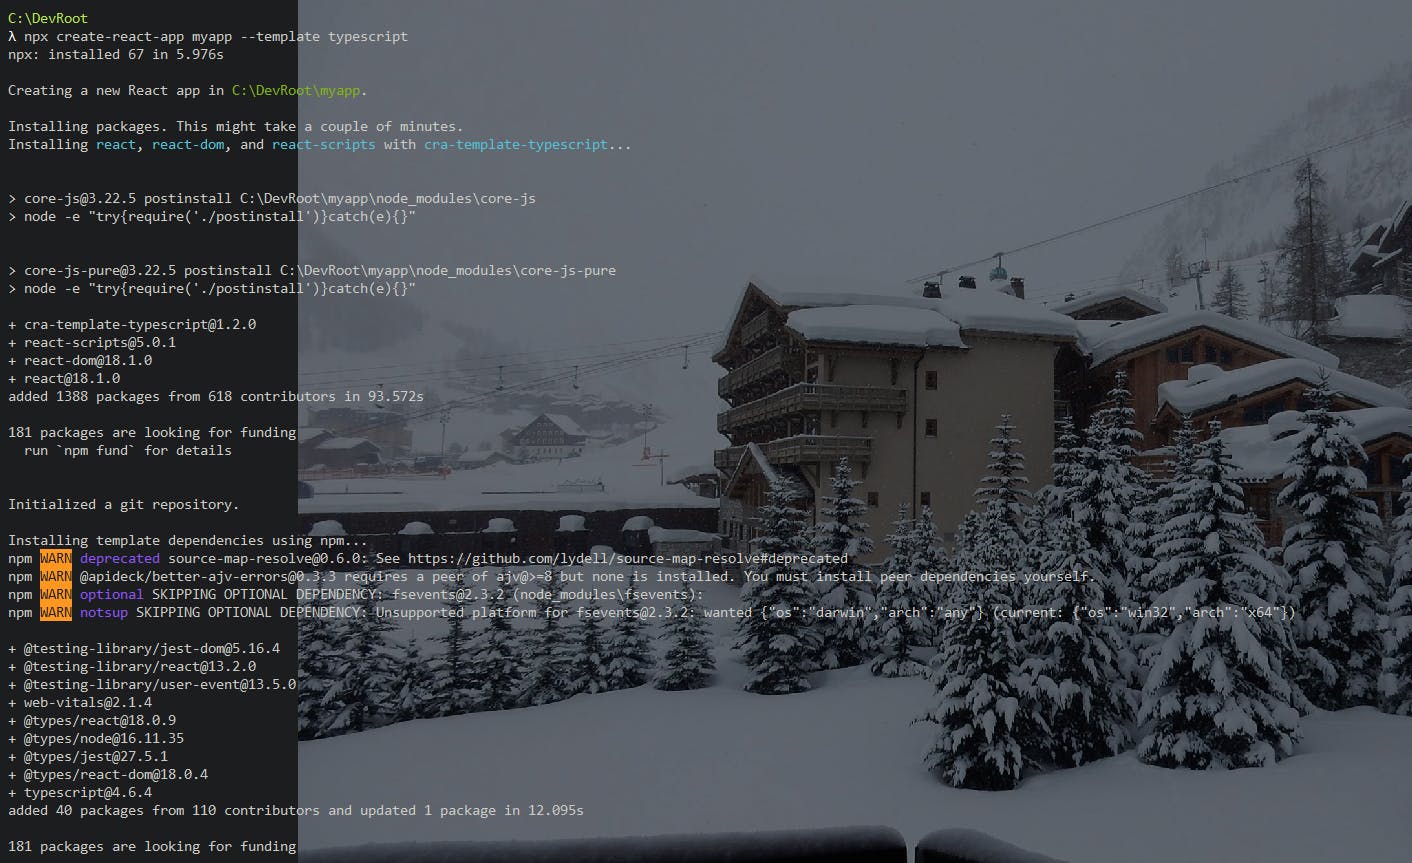
λ npx create-react-app myapp --template typescript
See the link here
Beware we can't use uppercase in the name of the project.
Cannot create a project named "MyApp" because of npm naming restrictions:

* name can no longer contain capital letters

Please choose a different project name
We get the following steps


At the end we get the following instructions:
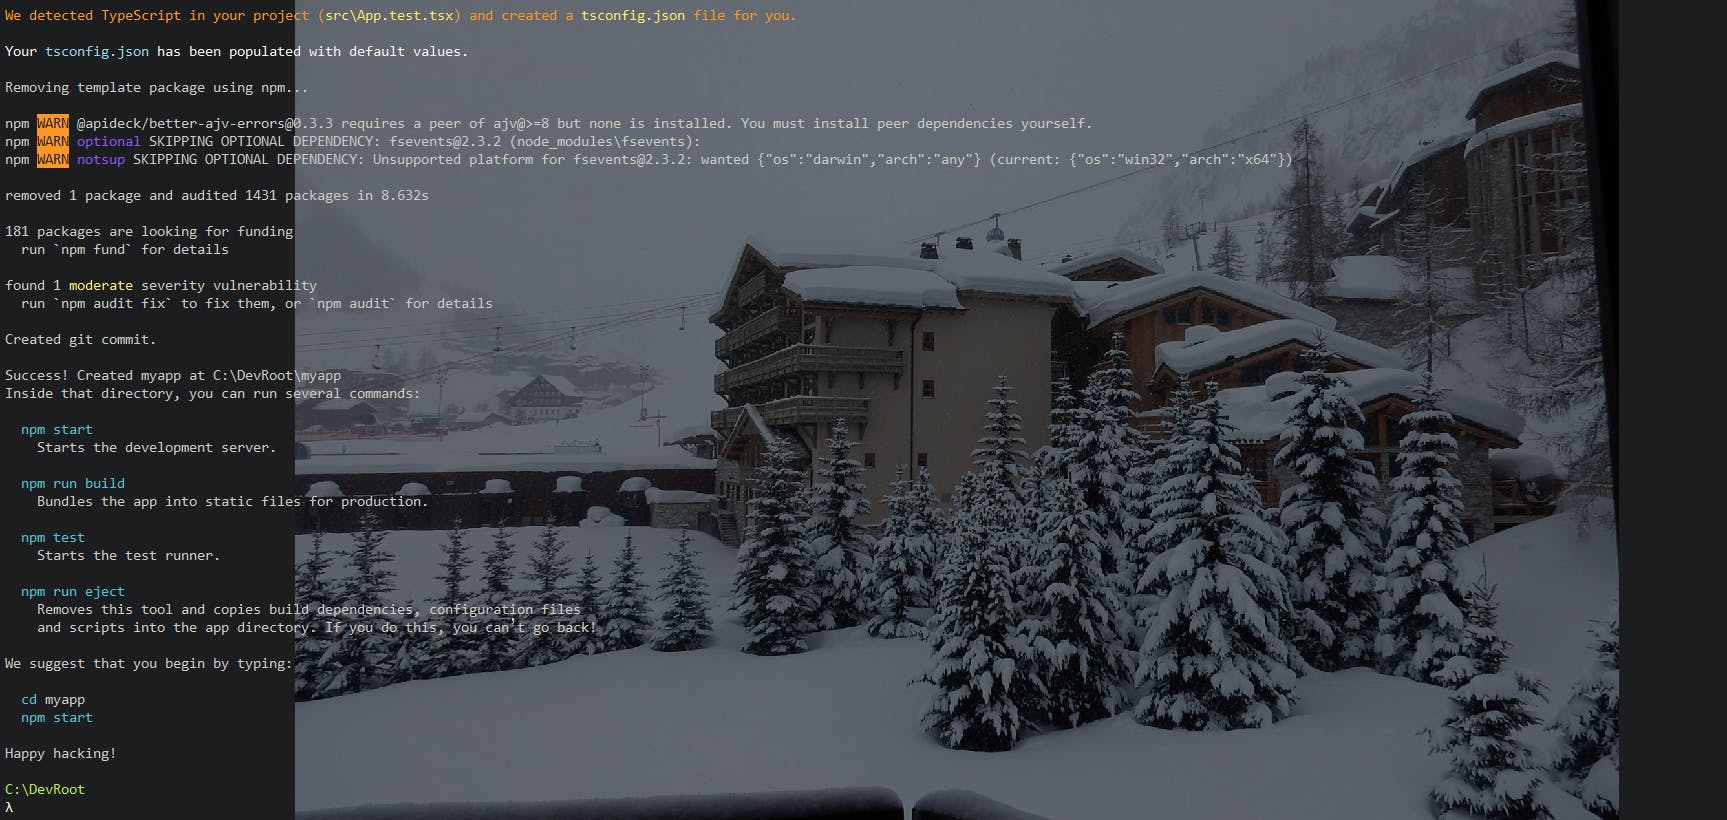
Let's follow this:
We suggest that you begin by typing:

cd myapp
npm start
Once started, the browser open automatically and we see
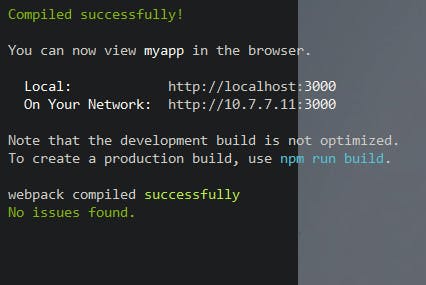
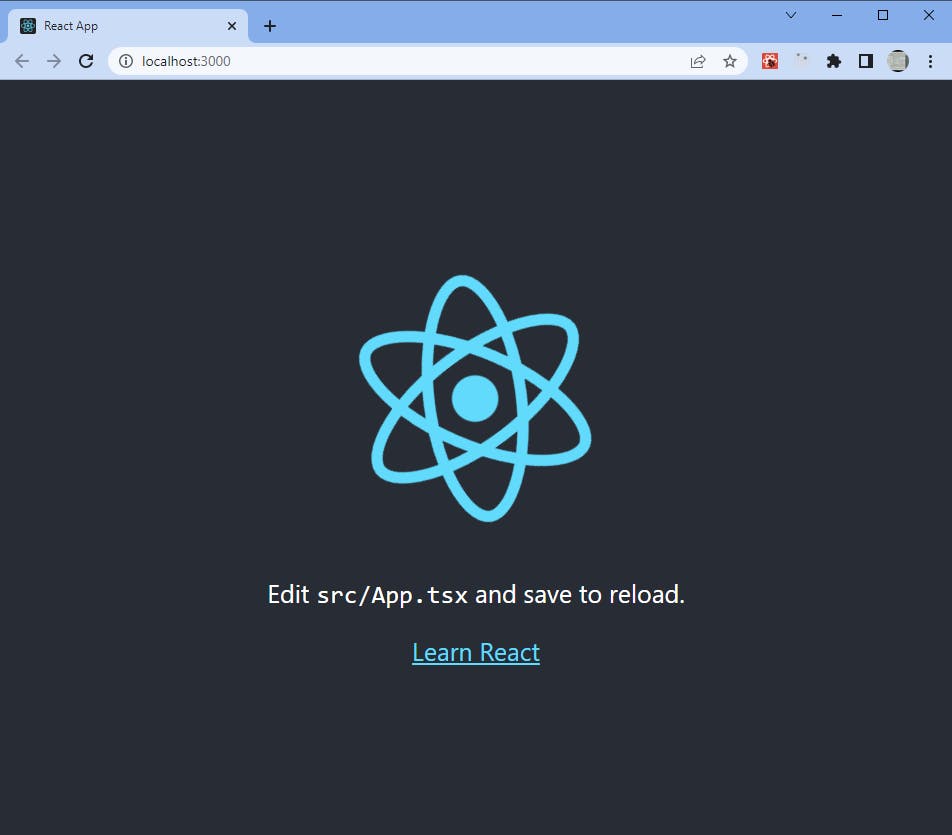
Now we have our very basic but functional typescript react app, we will keep configuring Keycloak for our app.
3. Configure client Valid Redirect URIs and Web Origins for our application
Our application is running on the : localhost:3000
Therefore we will set up this way
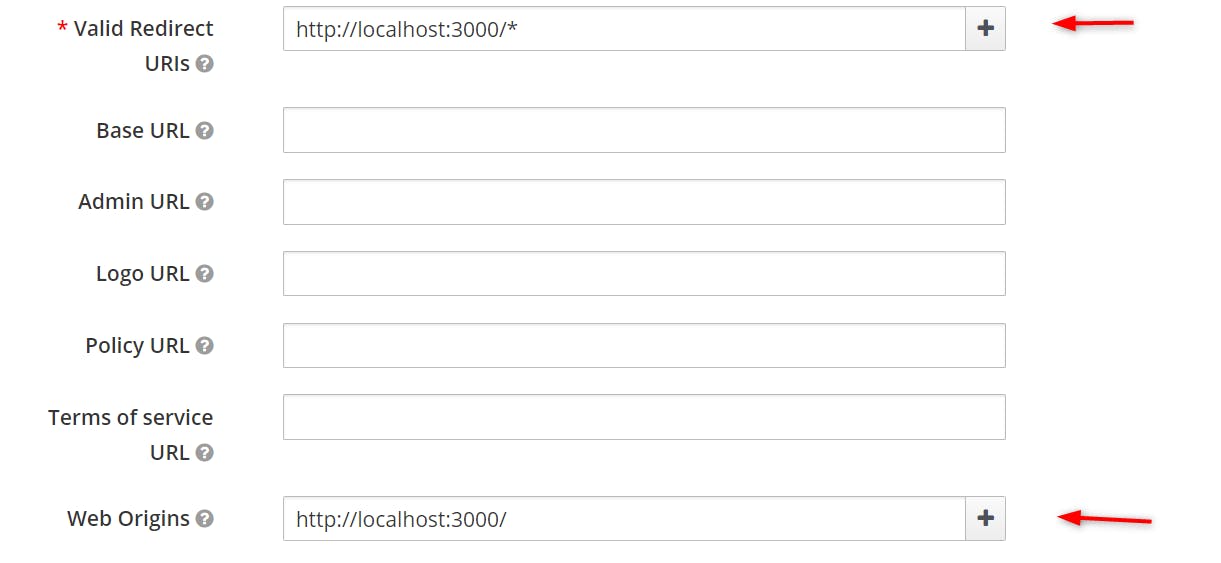
The "Valid Redirect URI" tells keycloak to accept a redirect target after login successed or logout. Here localhost:3000/* means keycloak can accept to redirect to any URI starting with localhost:3000 like localhost:3000/home for example.
Web Origins : is for the CORS.
This option centers around CORS which stands for Cross-Origin Resource Sharing. If browser JavaScript tries to make an AJAX HTTP request to a server whose domain is different from the one the JavaScript code came from, then the request must use CORS. The server must handle CORS requests in a special way, otherwise the browser will not display or allow the request to be processed. This protocol exists to protect against XSS, CSRF and other JavaScript-based attacks.
Important : Keycloak has support for validated CORS requests. The way it works is that the domains listed in the Web Origins setting for the client are embedded within the access token sent to the client application. The client application can then use this information to decide whether or not to allow a CORS request to be invoked on it. This is an extension to the OIDC protocol so only Keycloak client adapters support this feature.
Here we just put the URI of our application.
Finally we click on "save"
4. Configure client Users and Roles
Now we need to add the users and roles for the client (our application MyApp).
First click on the "Users" section, while making sure the realm is "MyRealm"
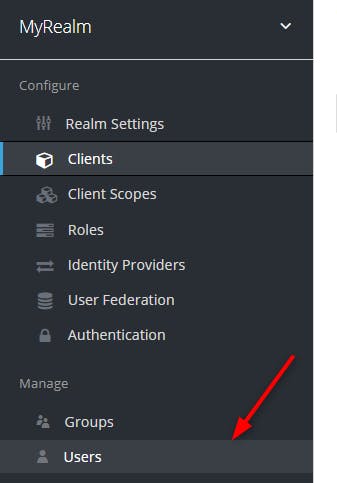
We get the following page
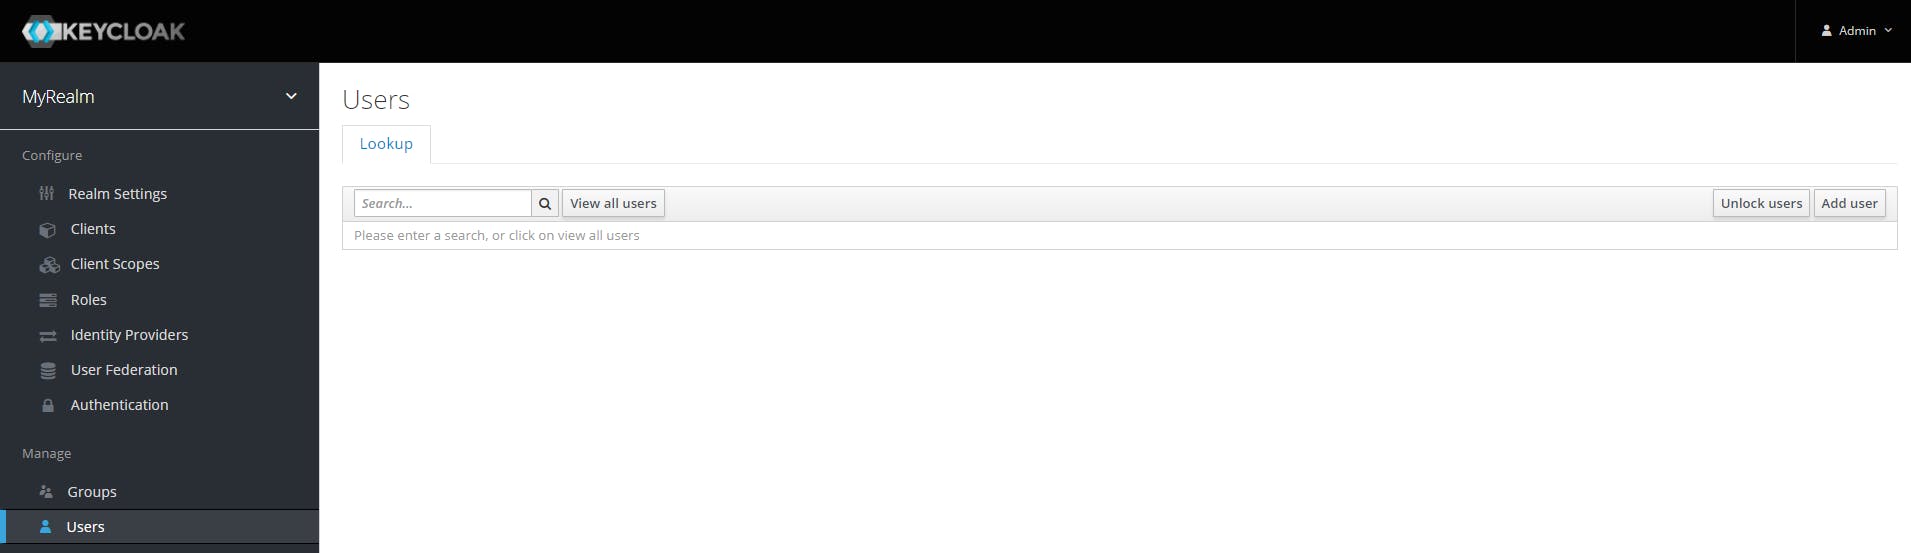
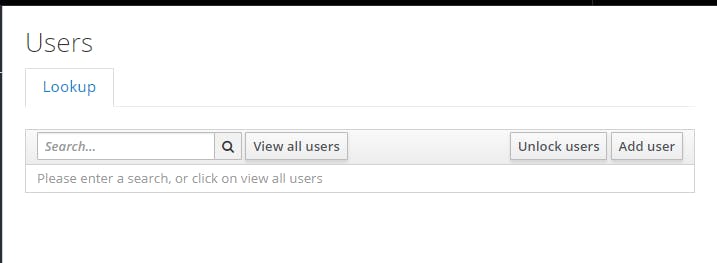
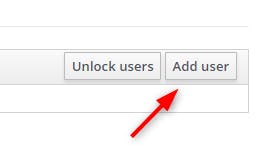
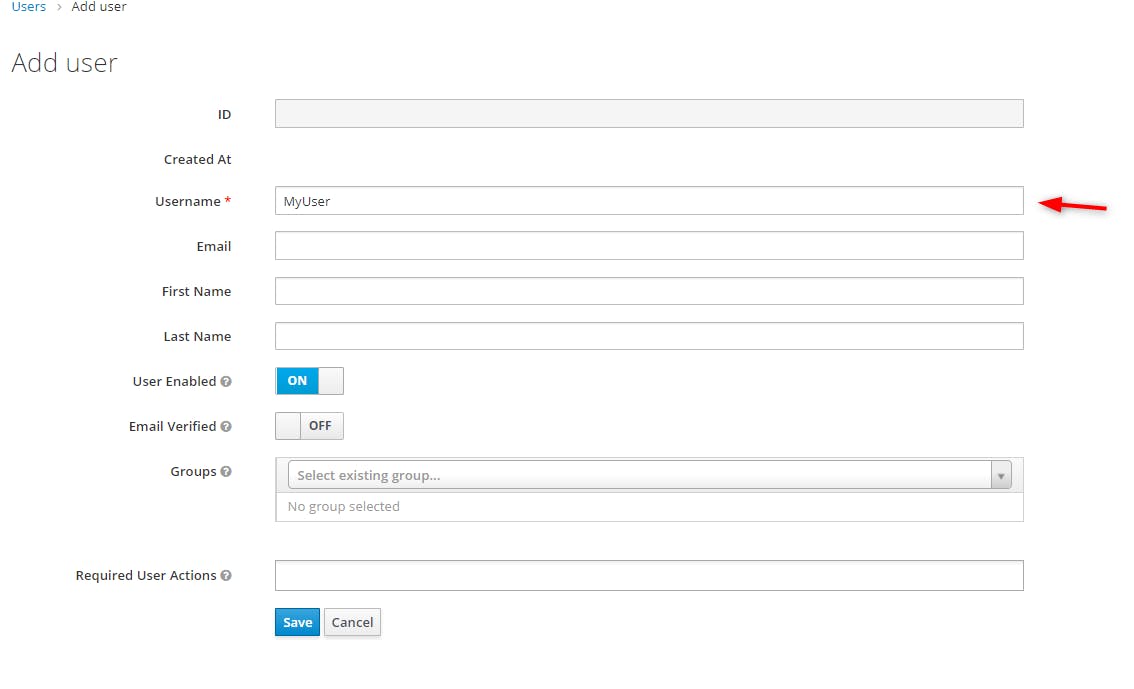
First we create one user, by providing the login "MyUser" for example:
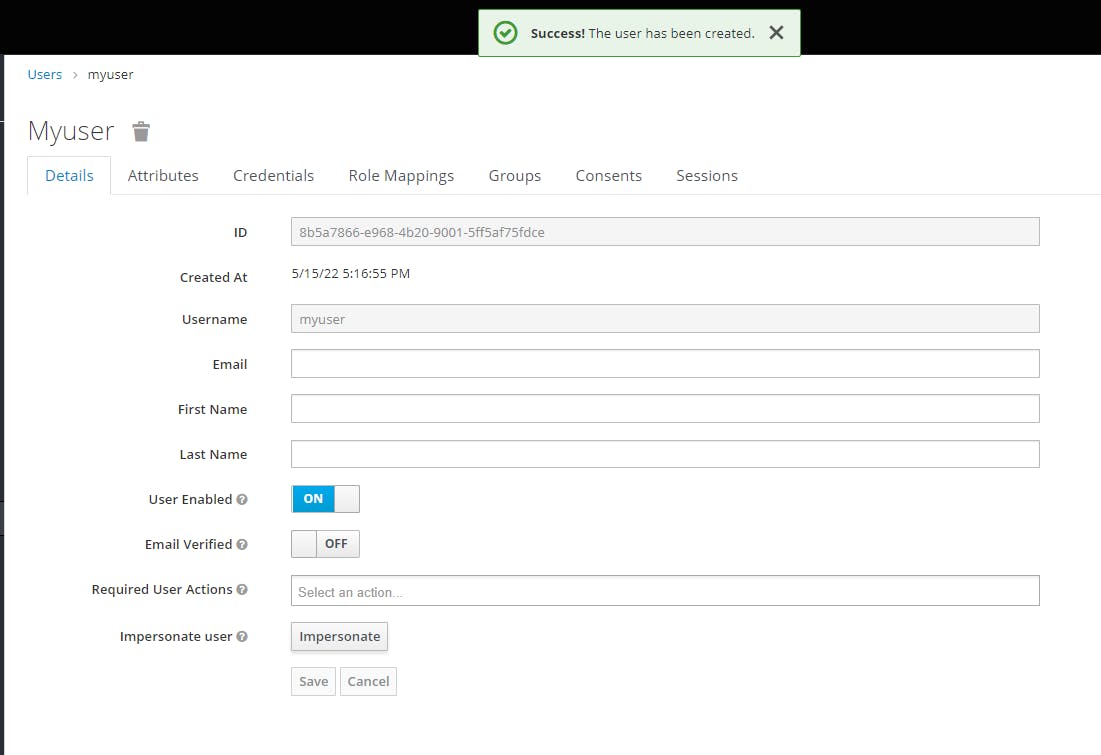
We get the following confirmation message
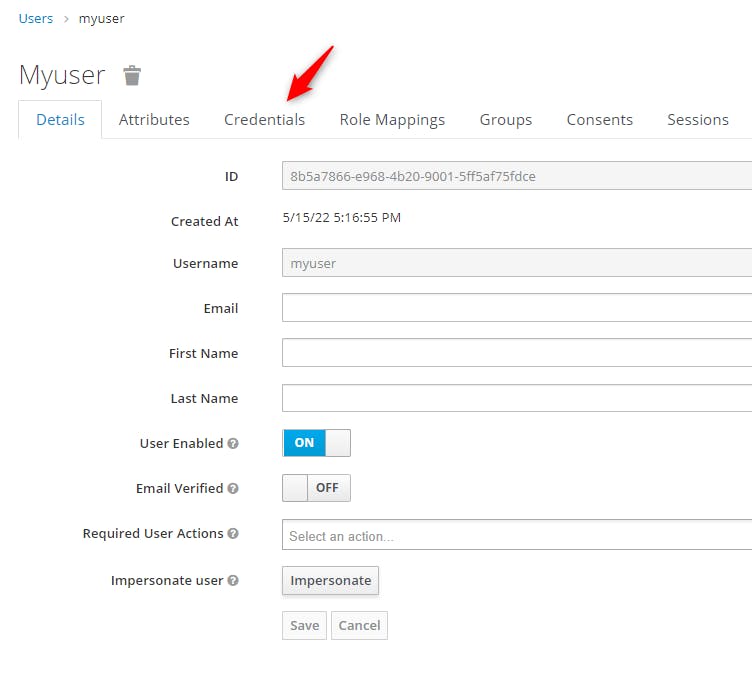
Now let's create a password for the user.
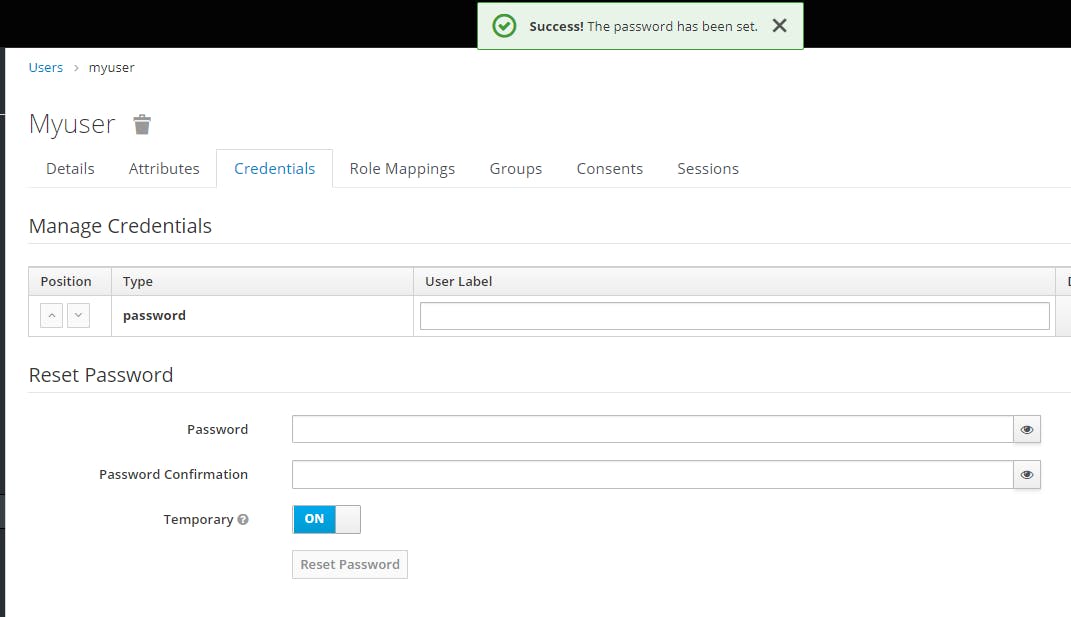
Click on "Credentials"
We get the form:
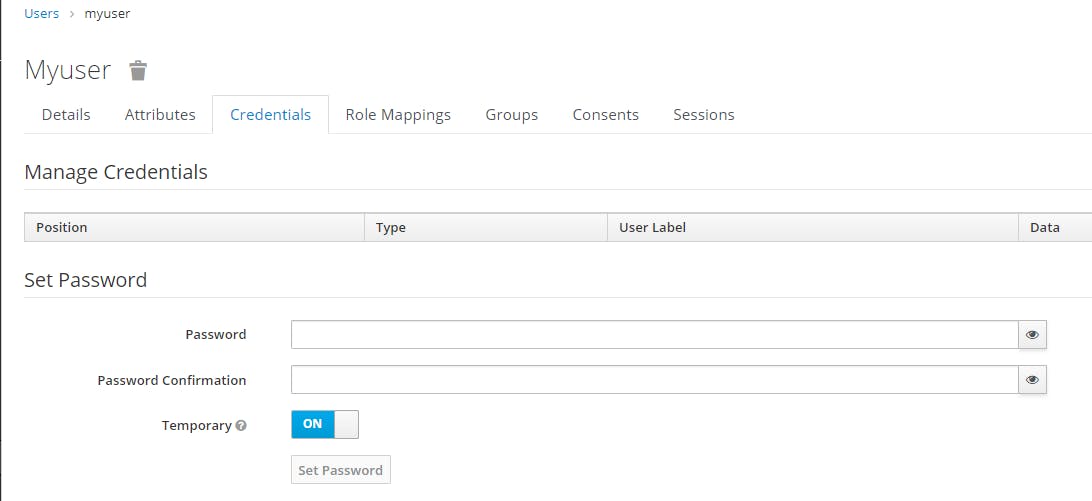
We set the password and disable "Temporary", then click on "Set Password" button.
We get the following confirm pop-up
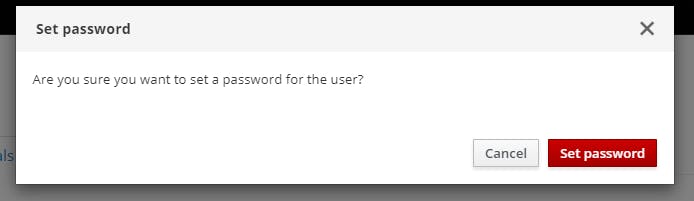
Click on the button "Set password"
We get the following confirmation
Now let's add Roles for our application. But first we have to realise that in Keycloak there are two kind of roles:
- Global Roles
- Client Roles
We will add roles to our application but using Client Roles.
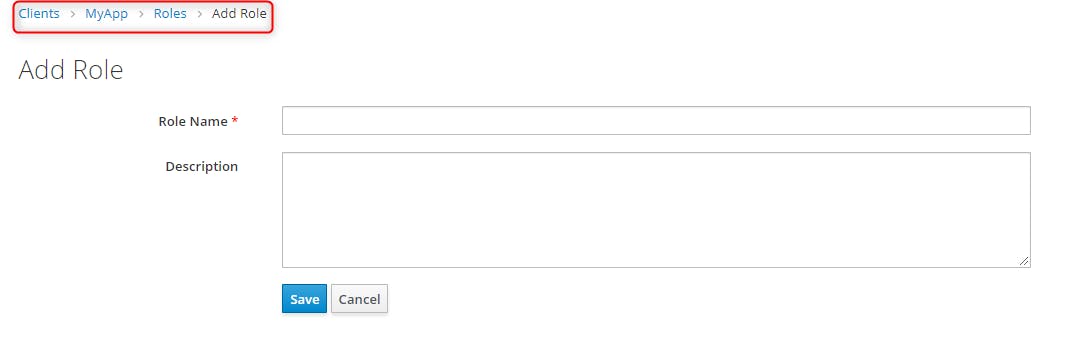
To reach for the client roles, we click on "Clients" then on our application "MyApp"

Then we click on the tab "Roles"

We add a new Role

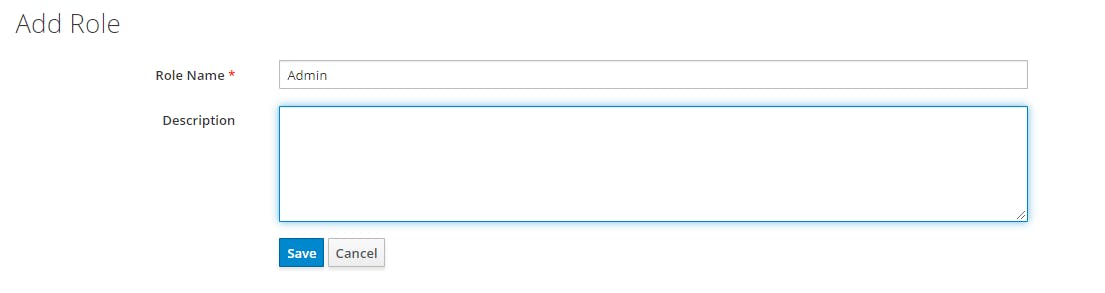
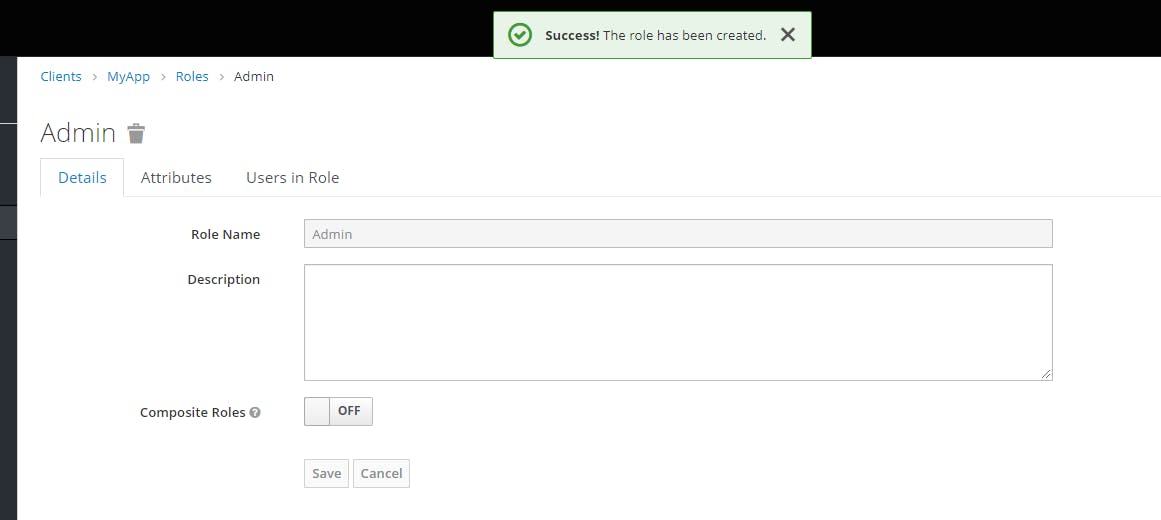
We just added one role called "Admin". It could be any role you want. It is just for demo.
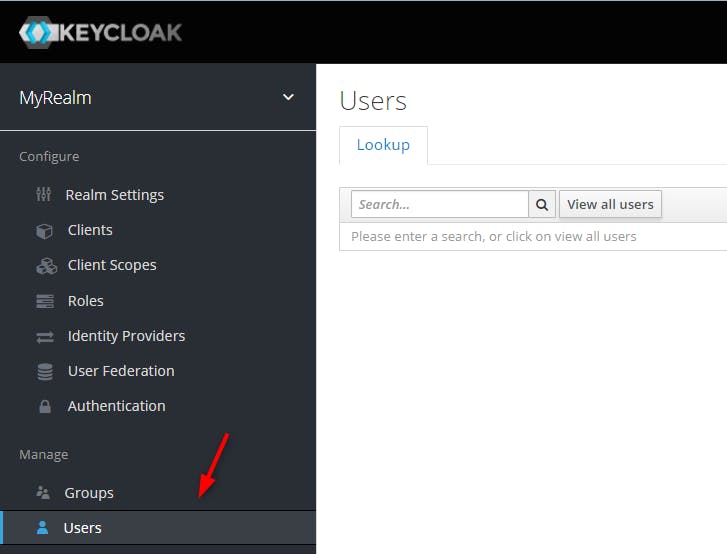
Let link the role "Admin" to our user "myuser"
Click on "Users"
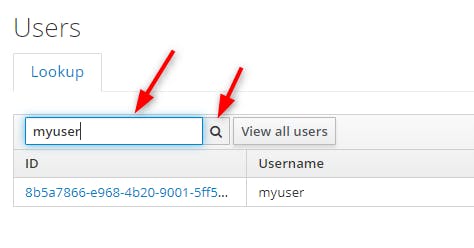
Let find back our user
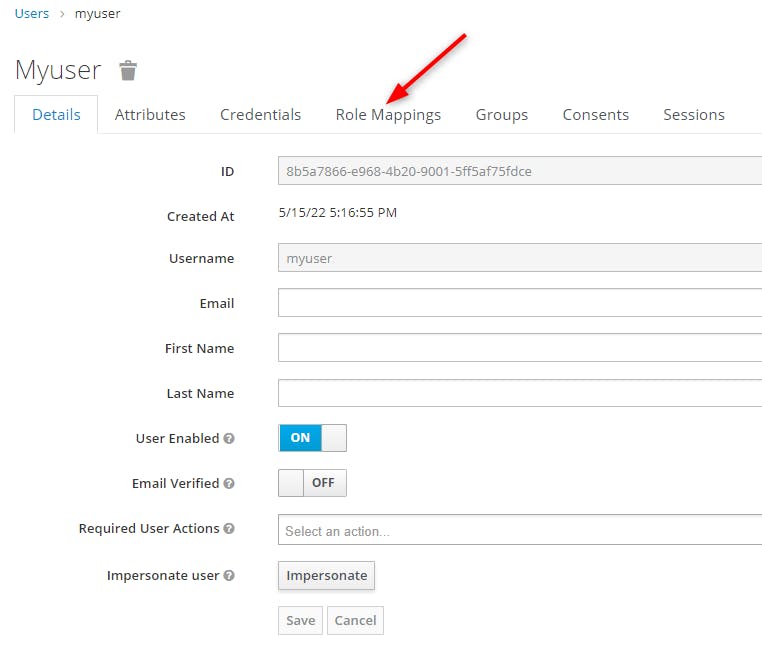
Then click on "Edit" then on "Role Mappings"

then we click on the combobox "Client Roles"
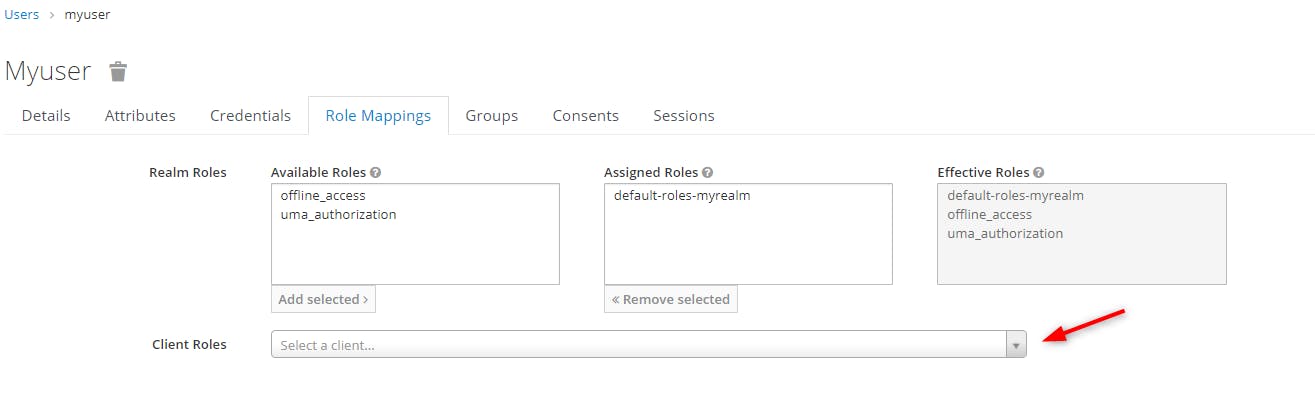
Then we select our application "MyApp" as a client:

We can see the list of roles of our application, here only one "Admin"
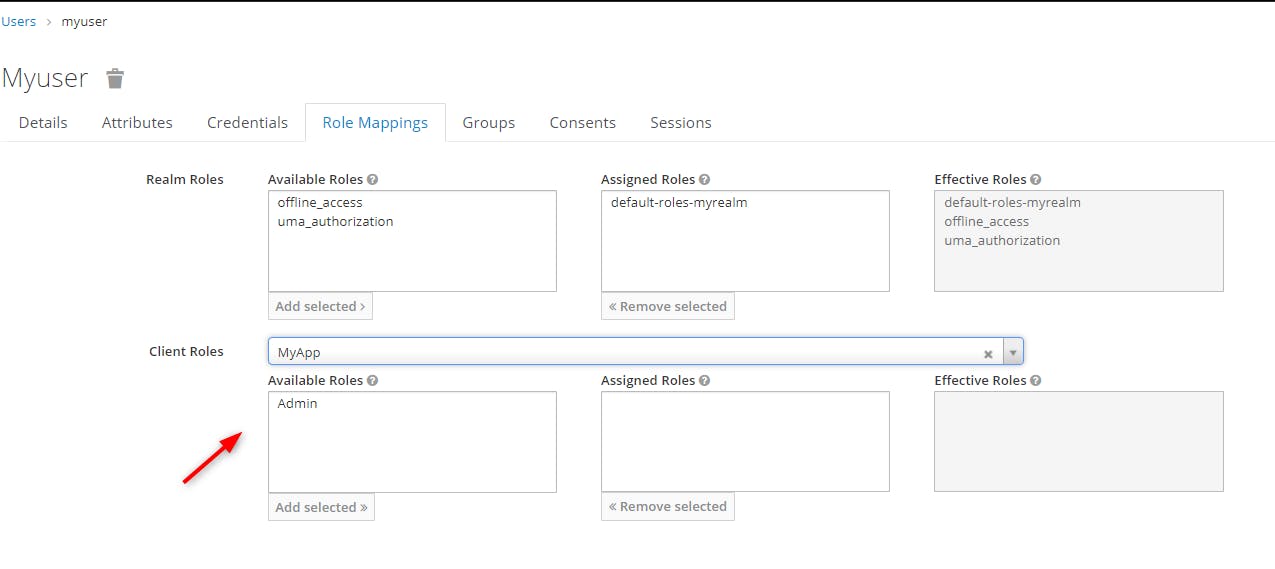
We select the Role "Admin" and click on "Add selected" to add the Role to the current user "Myuser"

Now we can check the effective Roles of the user is Admin. Of course we can add several roles to one current user.
We are done with administrating Keycloak for now.
Let's make sure the user account is ok first, let's log in in the account.
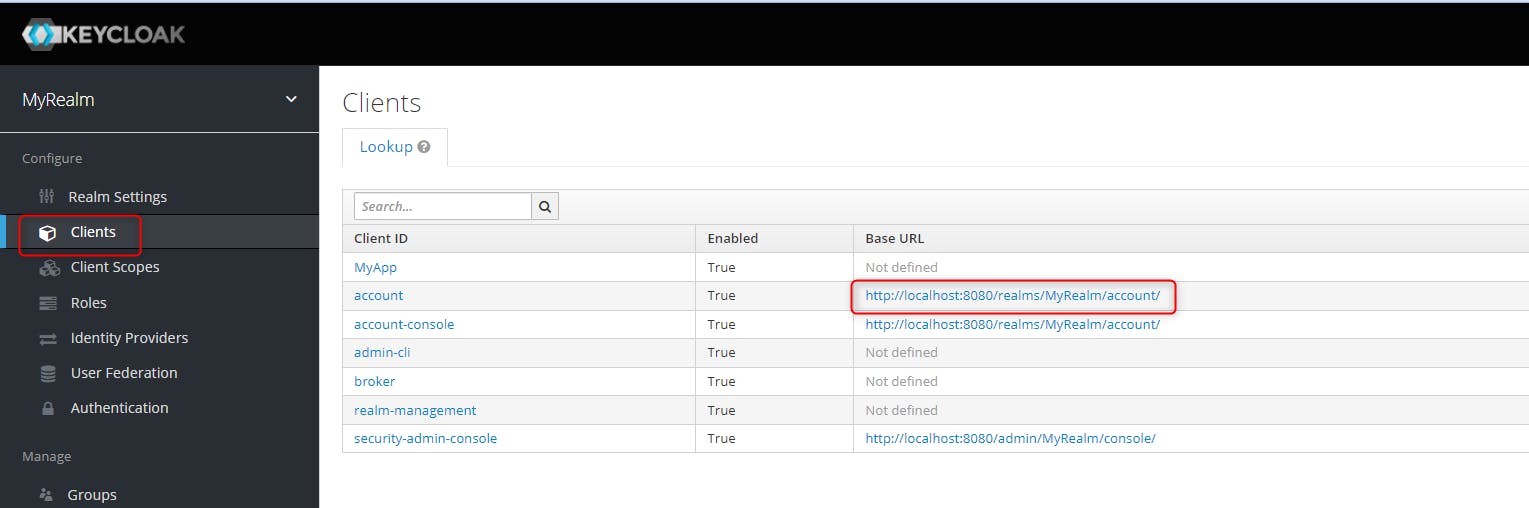
We get the folllowing page on the link http://localhost:8080/realms/MyRealm/account/#/
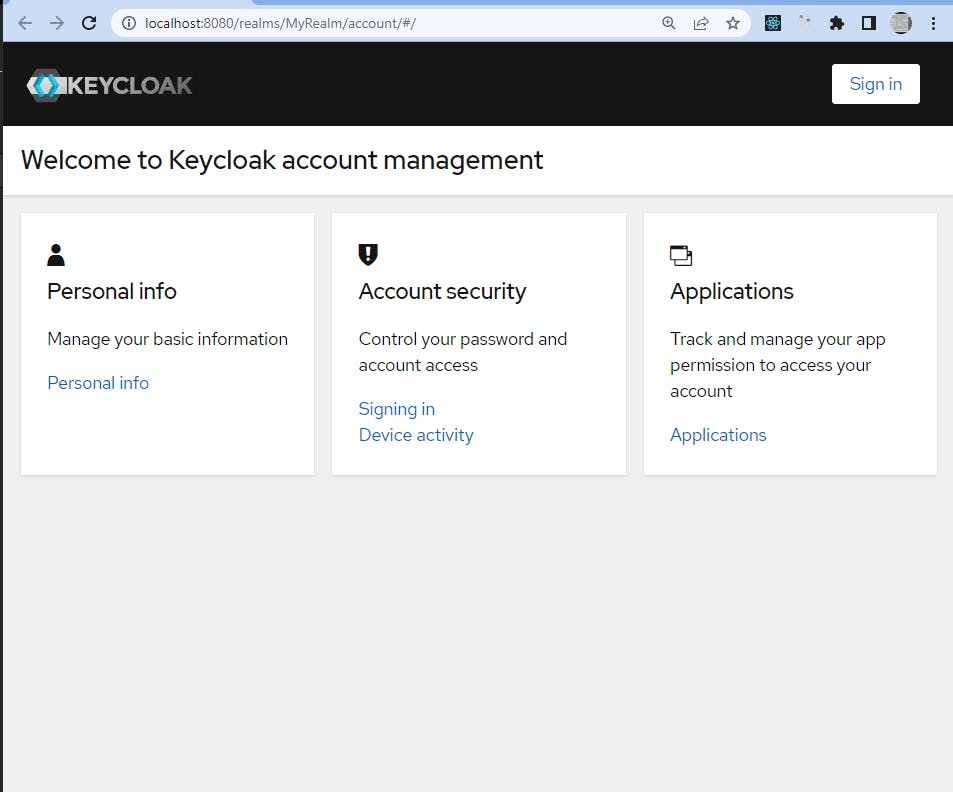
We go on "Sign in"

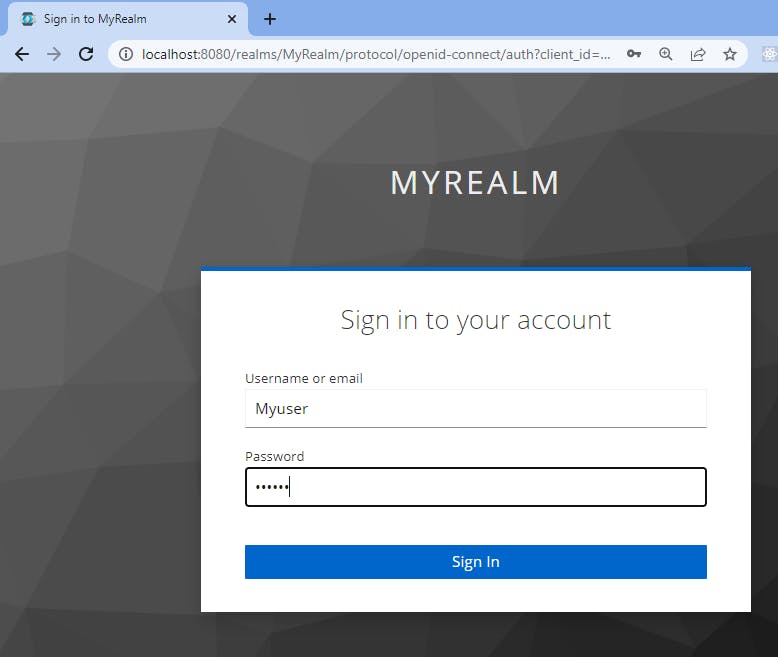
We log on with the user login/password
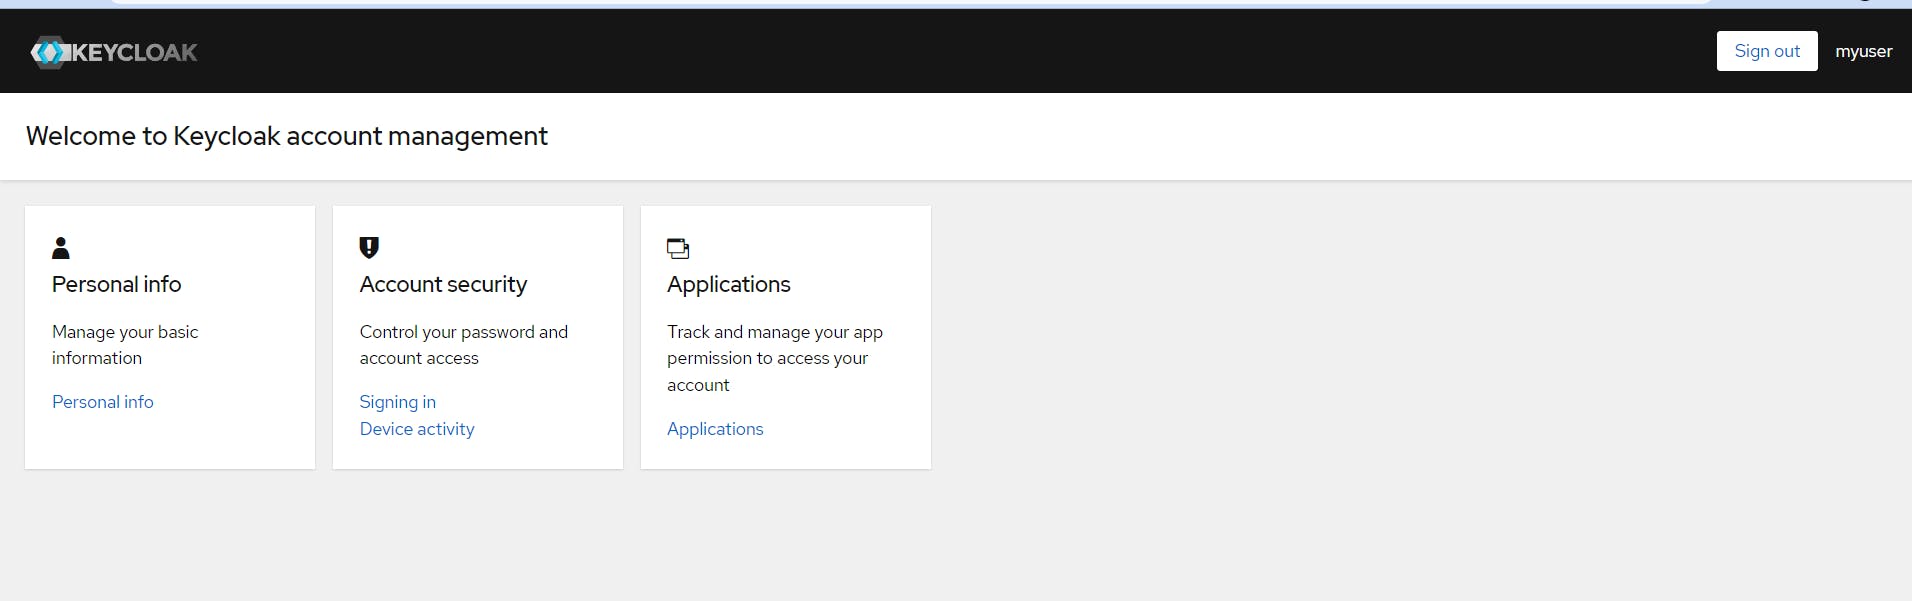
We know now for sure that the user can log in with her login/password.
Now let's have a look how we can use the protocol OpenID Connect to authentificate and authorize the user wanting to access our client MyApp
Once the user is authentificated by KeyCloak for the client using OpenId Connect procotol, it returns two token in response:
- Access Token
- Identity Token
For this, we will use the api of Keycloak with insomia to test and get the two tokens.
5. Authenticate and Authorize the user through the Keycloak API with the API client Insomia with the username and password
See the link Authenticating with a username and password
We want to send the following HTTP request
curl -d "client_id=admin-cli" -d "username=admin" -d "password=password" -d "grant_type=password" "http://localhost:8080/realms/MyRealm/protocol/openid-connect/token"
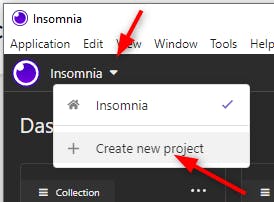
We will use Insomia
it is a very good application for testing our api but here we will use it for communicating with Keycloak server through its API.
We use the streamlined API client of Insomia.
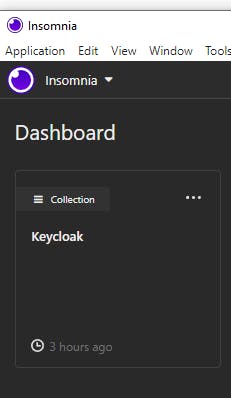
First we need to create a project.
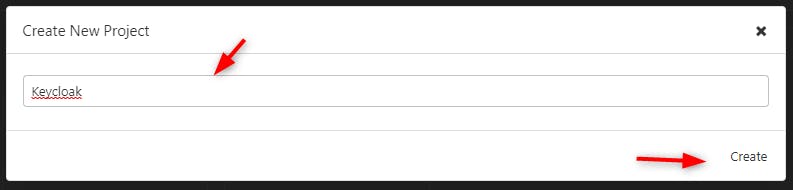
We get the dashboard back
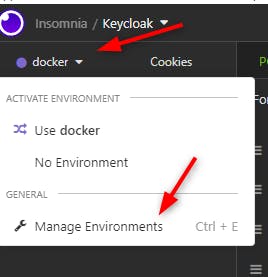
Now we need to add our environment that we will call "docker" as Keycloak runs on docker.
Click in the tab
Then we will add the environment "docker"
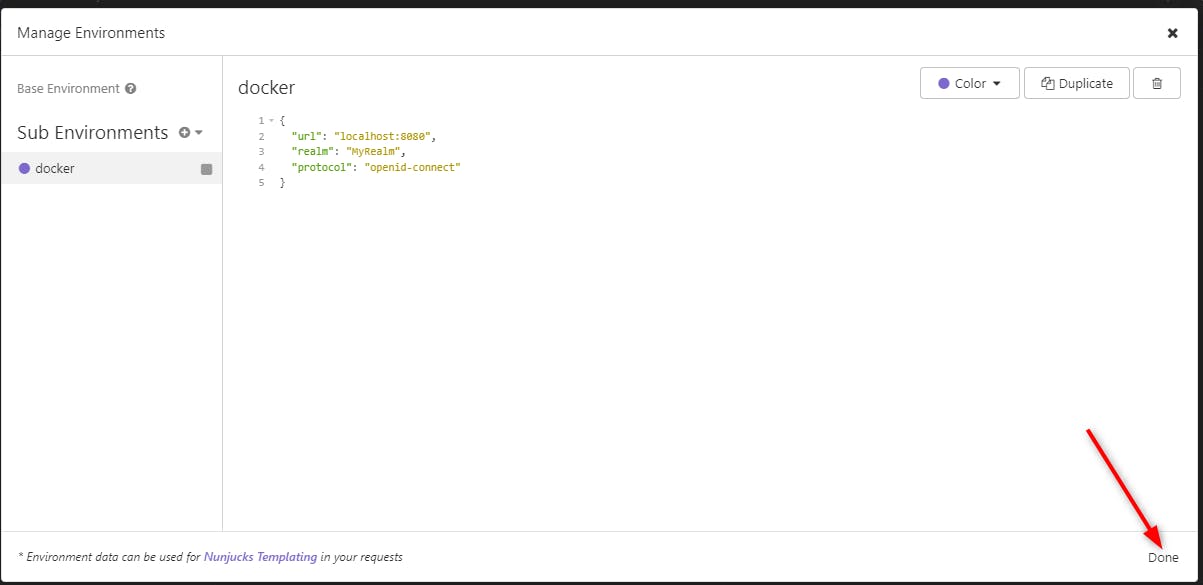
In there we set up all the values of the environment like the url of our keycloak server, our realm, our protocol.
We will need to provide more info in the request, they will be provided in the POST HTTP request later on.
{
    "url": "localhost:8080",
    "realm": "MyRealm",
    "protocol": "openid-connect"
}
We get this then we click on "Done"
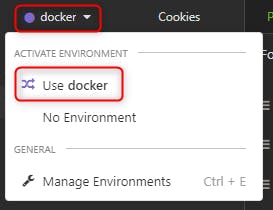
Once done, make sure you use the "docker" environment we just created.
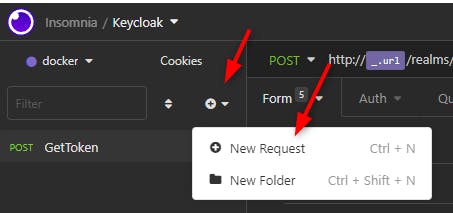
Then we create a new Request in our Keycloak project to get the token.
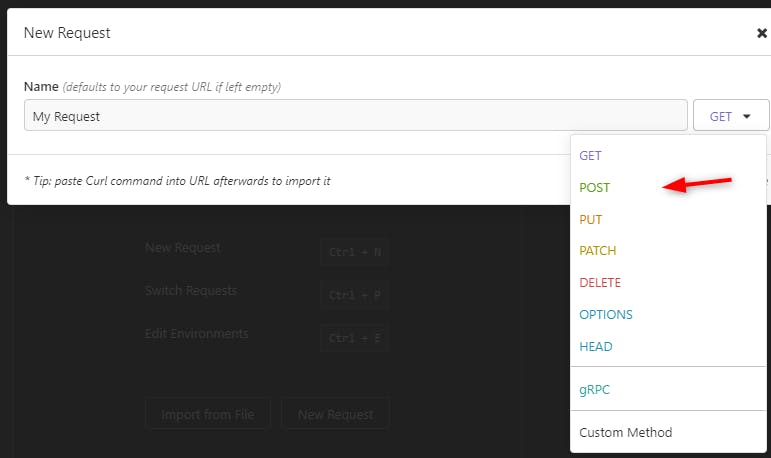
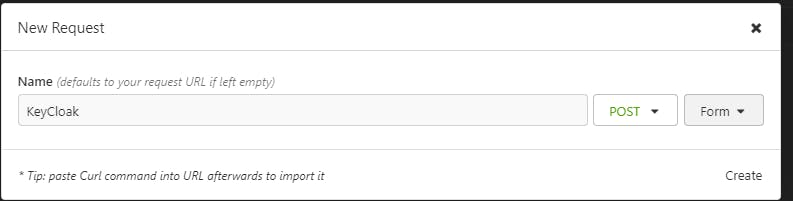
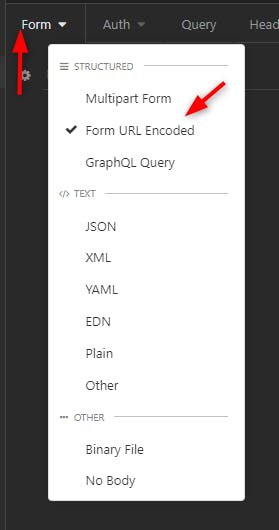
We select the HTTP method POST:
We select how we pass the data in our HTTP Post: Form Url Encoded
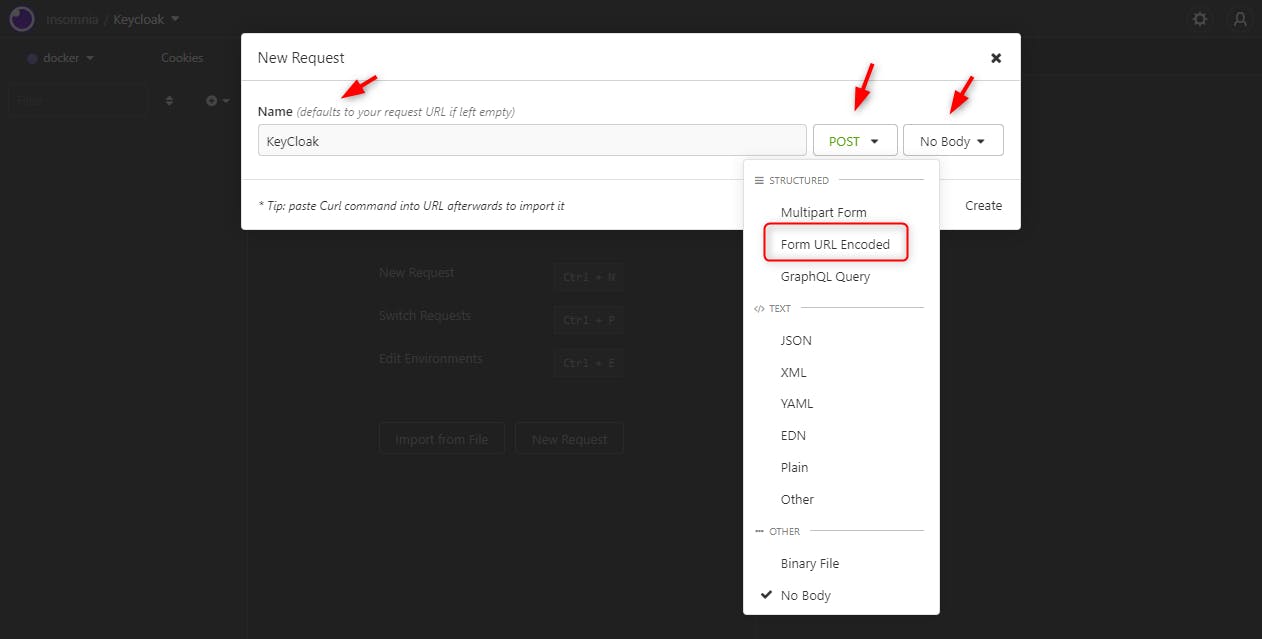
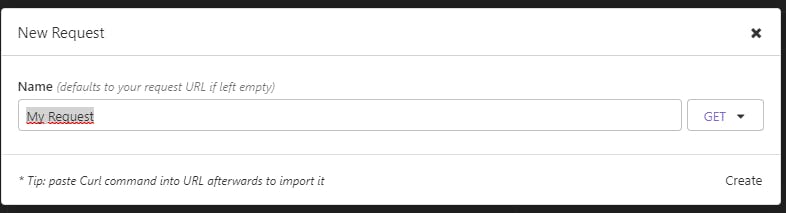
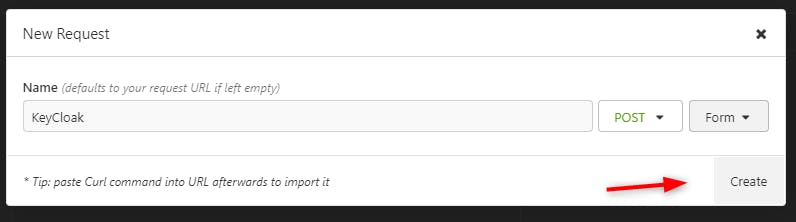
At last, click on "Create"
We get the following page:
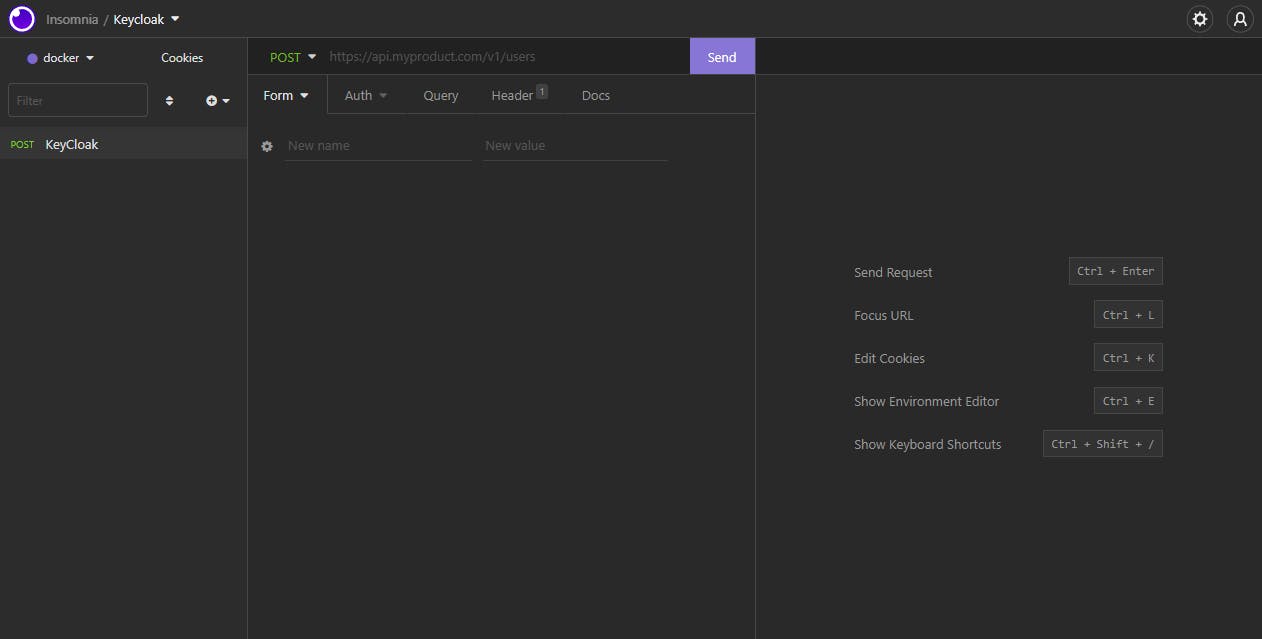
Let's provide now our keycloak url:
first we get the Scheme : http, then we use the url
We type "http://" then the letter "u" for url We get
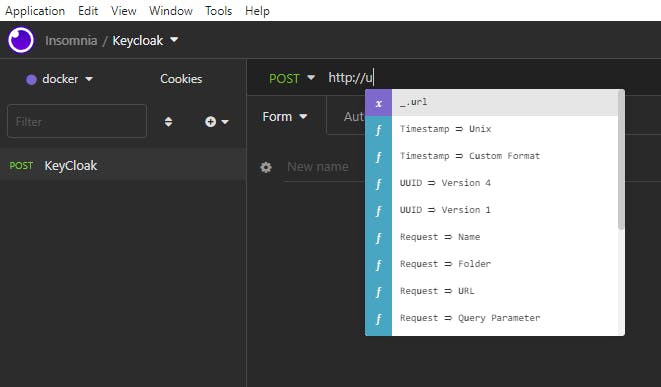
_url was defined in our "docker" environment, remember.
We click on _url then we get

After the URI path must be
/realms/[MyRealm]/protocol/openid-connect/token
Let's write

Then when we type the letter "r" we select _.realm
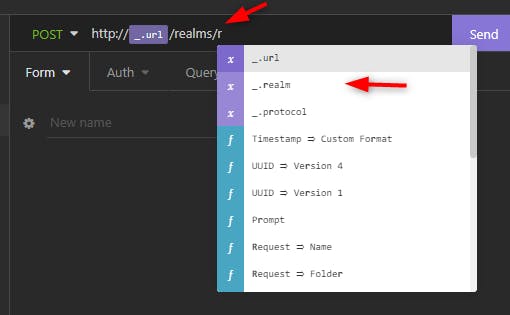
We get

then we write

Let's try by clicking "Send"
We get

The Keycloak server returns :
- HTTP 400 Bad Request
- The error message "invalid_request" with the description "Missing form parameter: grant_type"
Basically we need to send the form parameter grand_type.
There are different flows
- Authorization Code Flow: used for web app, native app
- Device Flow: browserless and constrainted input devices - Password Flow : only for First Party app
- Refresh Token Flow: new Access Token when it expires
We will use the Password Flow here to get the access token of our application.
https://oauth.net/2/grant-types/password/
https://auth0.com/docs/get-started/applications/application-grant-types
https://datatracker.ietf.org/doc/html/rfc6749#section-1.3.3
1.3.3. Resource Owner Password Credentials
The resource owner password credentials (i.e., username and password) can be used directly as an authorization grant to obtain an access token. The credentials should only be used when there is a high degree of trust between the resource owner and the client (e.g., the client is part of the device operating system or a highly privileged application), and when other authorization grant types are not available (such as an authorization code).
Even though this grant type requires direct client access to the resource owner credentials, the resource owner credentials are used for a single request and are exchanged for an access token. This grant type can eliminate the need for the client to store the resource owner credentials for future use, by exchanging the credentials with a long-lived access token or refresh token.
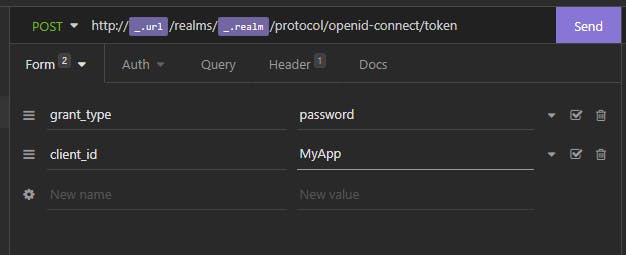
So let's use this Password Flow by sending : grant_type=password, and let's set the client id, login and password in the HTTP post request.
First let's add the "grant_type" parameter:
We send the request and we get another error
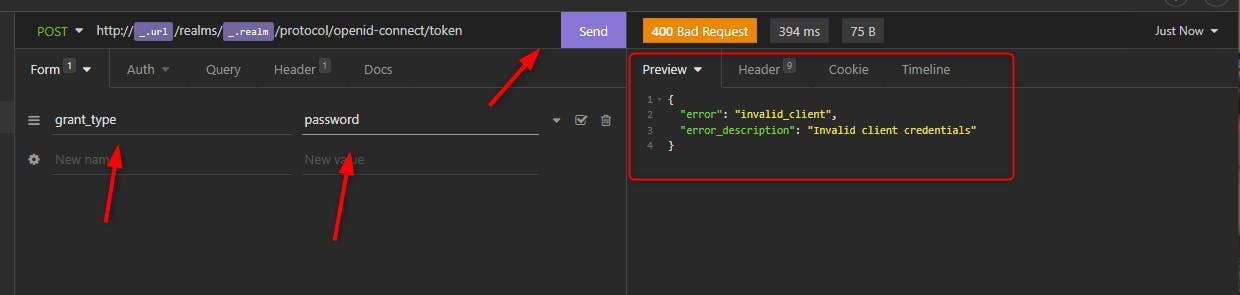
The error is
{
    "error": "invalid_client",
    "error_description": "Invalid client credentials"
}
We made progress, we need client id. Let's add it:
We get the following error:
{
"error": "invalid_request",
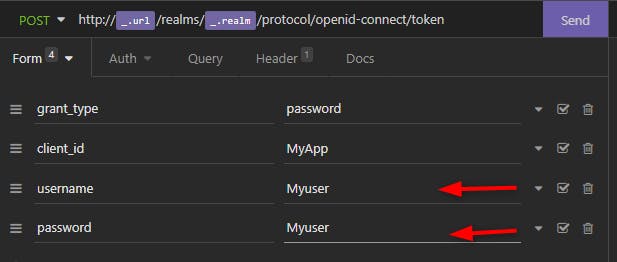
"error_description": "Missing parameter: username"
}
Let's add username and password
And when we send we get the tokens: Access and Refresh Tokens !
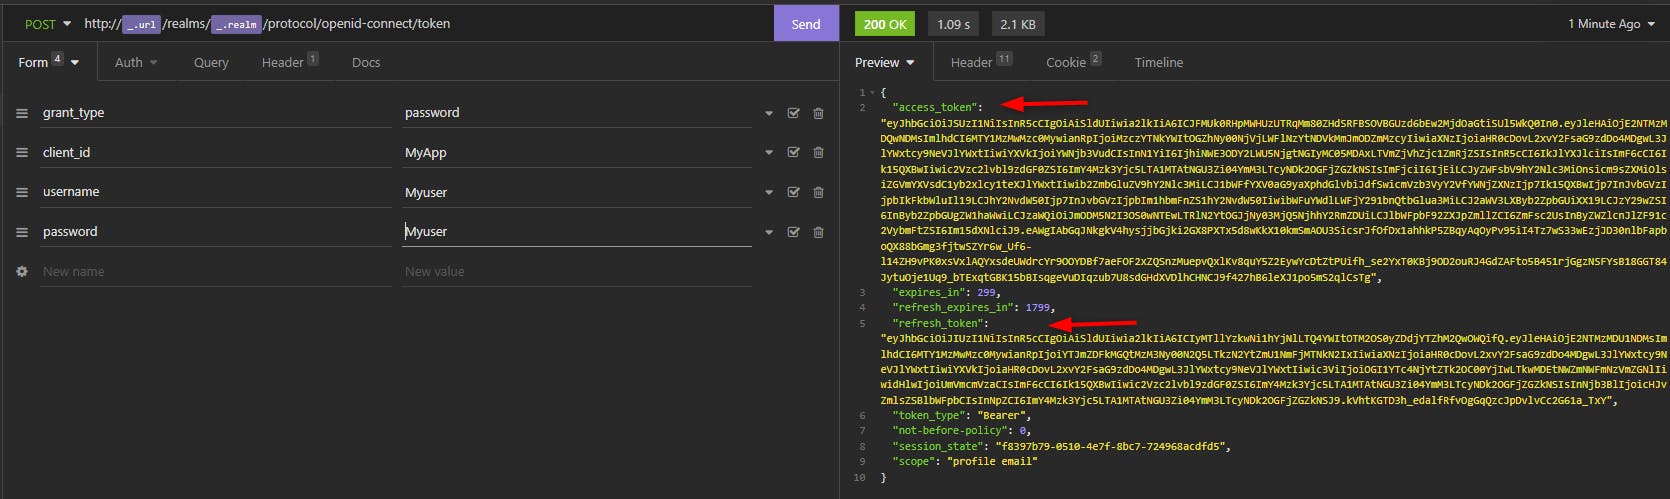
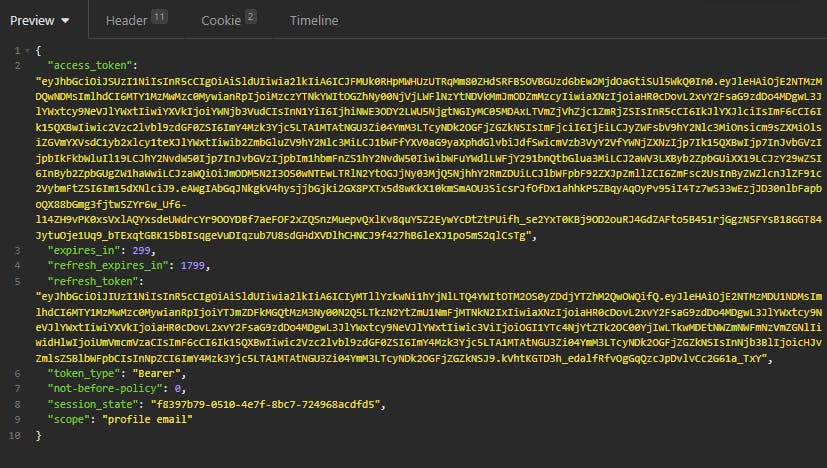
We just showed how a Public client can get Access Token by sending the login/password.
Now we need to know more about the Access Token structure.
Remember we use the protocol Open Connect Id derives from OAuth 2.0.
The Access token is decribed here
https://auth0.com/docs/secure/tokens/access-tokens
It is said:
Auth0 uses self-contained JSON Web Token (JWTs) access tokens that conform to JSON structure with standard claims
Let's check with the JWT website:
Please go to https://jwt.io/
When we paste our access token we get:
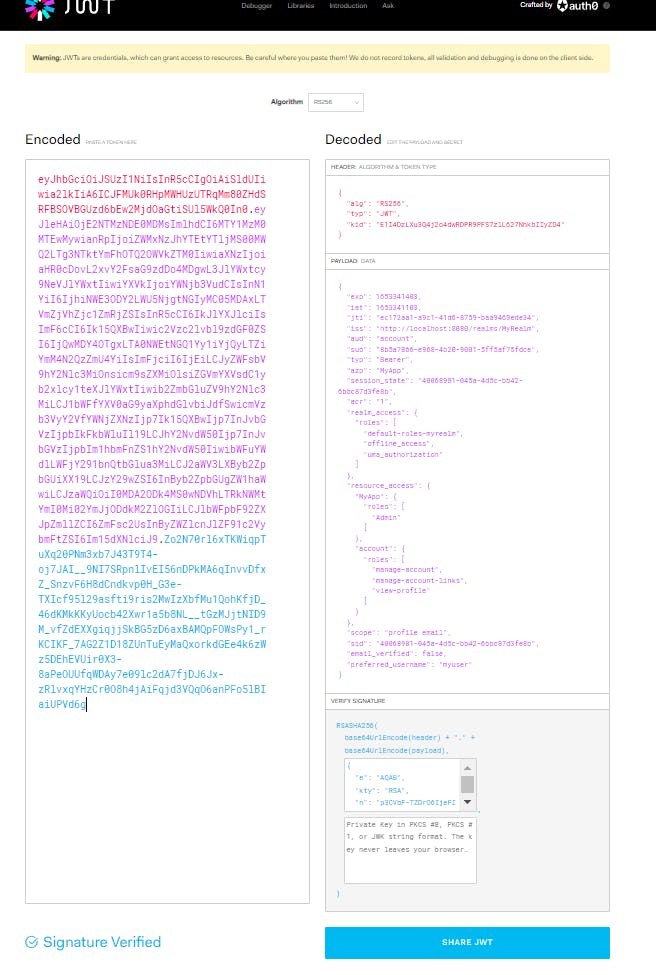
We could check that the access token is indeed in the self-signed JWT.
There are three parts.
JOSE Header: contains metadata about the type of token and the cryptographic algorithms used to secure its contents. (in red color)
JWS payload (set of claims): contains verifiable security statements, such as the identity of the user and the permissions they are allowed. (in purple color)
JWS signature: used to validate that the token is trustworthy and has not been tampered with. When you use a JWT, you must check its signature before storing and using it. (in light blue color)
Please find the details here
Let's check the content of the payload with the claims.
{
  "exp": 1653341403,
  "iat": 1653341103,
  "jti": "ec172aa1-a9c1-41d6-8759-baa9469ede34",
  "iss": "http://localhost:8080/realms/MyRealm",
  "aud": "account",
  "sub": "8b5a7866-e968-4b20-9001-5ff5af75fdce",
  "typ": "Bearer",
  "azp": "MyApp",
  "session_state": "40068981-045a-4d5c-bb42-6bbc87d3fe8b",
  "acr": "1",
  "realm_access": {
    "roles": [
      "default-roles-myrealm",
      "offline_access",
      "uma_authorization"
    ]
  },
  "resource_access": {
    "MyApp": {
      "roles": [
        "Admin"
      ]
    },
    "account": {
      "roles": [
        "manage-account",
        "manage-account-links",
        "view-profile"
      ]
    }
  },
  "scope": "profile email",
  "sid": "40068981-045a-4d5c-bb42-6bbc87d3fe8b",
  "email_verified": false,
  "preferred_username": "myuser"
}
The token does not contain any information about the user except for the user ID (located in the sub claim). In many cases, you may find it useful to retrieve additional user information. You can do this by calling the userinfo API endpoint with the Access Token. Be sure that the API for which the Access Token is issued uses the RS256 signing algorithm.
We can find the doc about the structure:
https://auth0.com/docs/secure/tokens/access-tokens
In our case, we will be interrested in the roles of the user in our application MyApp in that section:
 "resource_access": {
    "MyApp": {
      "roles": [
        "Admin"
      ]
    }
We can check that the "Admin" role is set up.
This is the end of the Part 1. On the next Part 2 we will show you how to use Open Connect Id/OAuth 2.0 in our application React to add security.
References
https://www.keycloak.org/docs-api/18.0/javadocs/index.html
https://openid.net/specs/openid-connect-core-1_0.html#IDToken
https://usmanshahid.medium.com/levels-of-access-control-through-keycloak-part-1-d29e24b0ddad